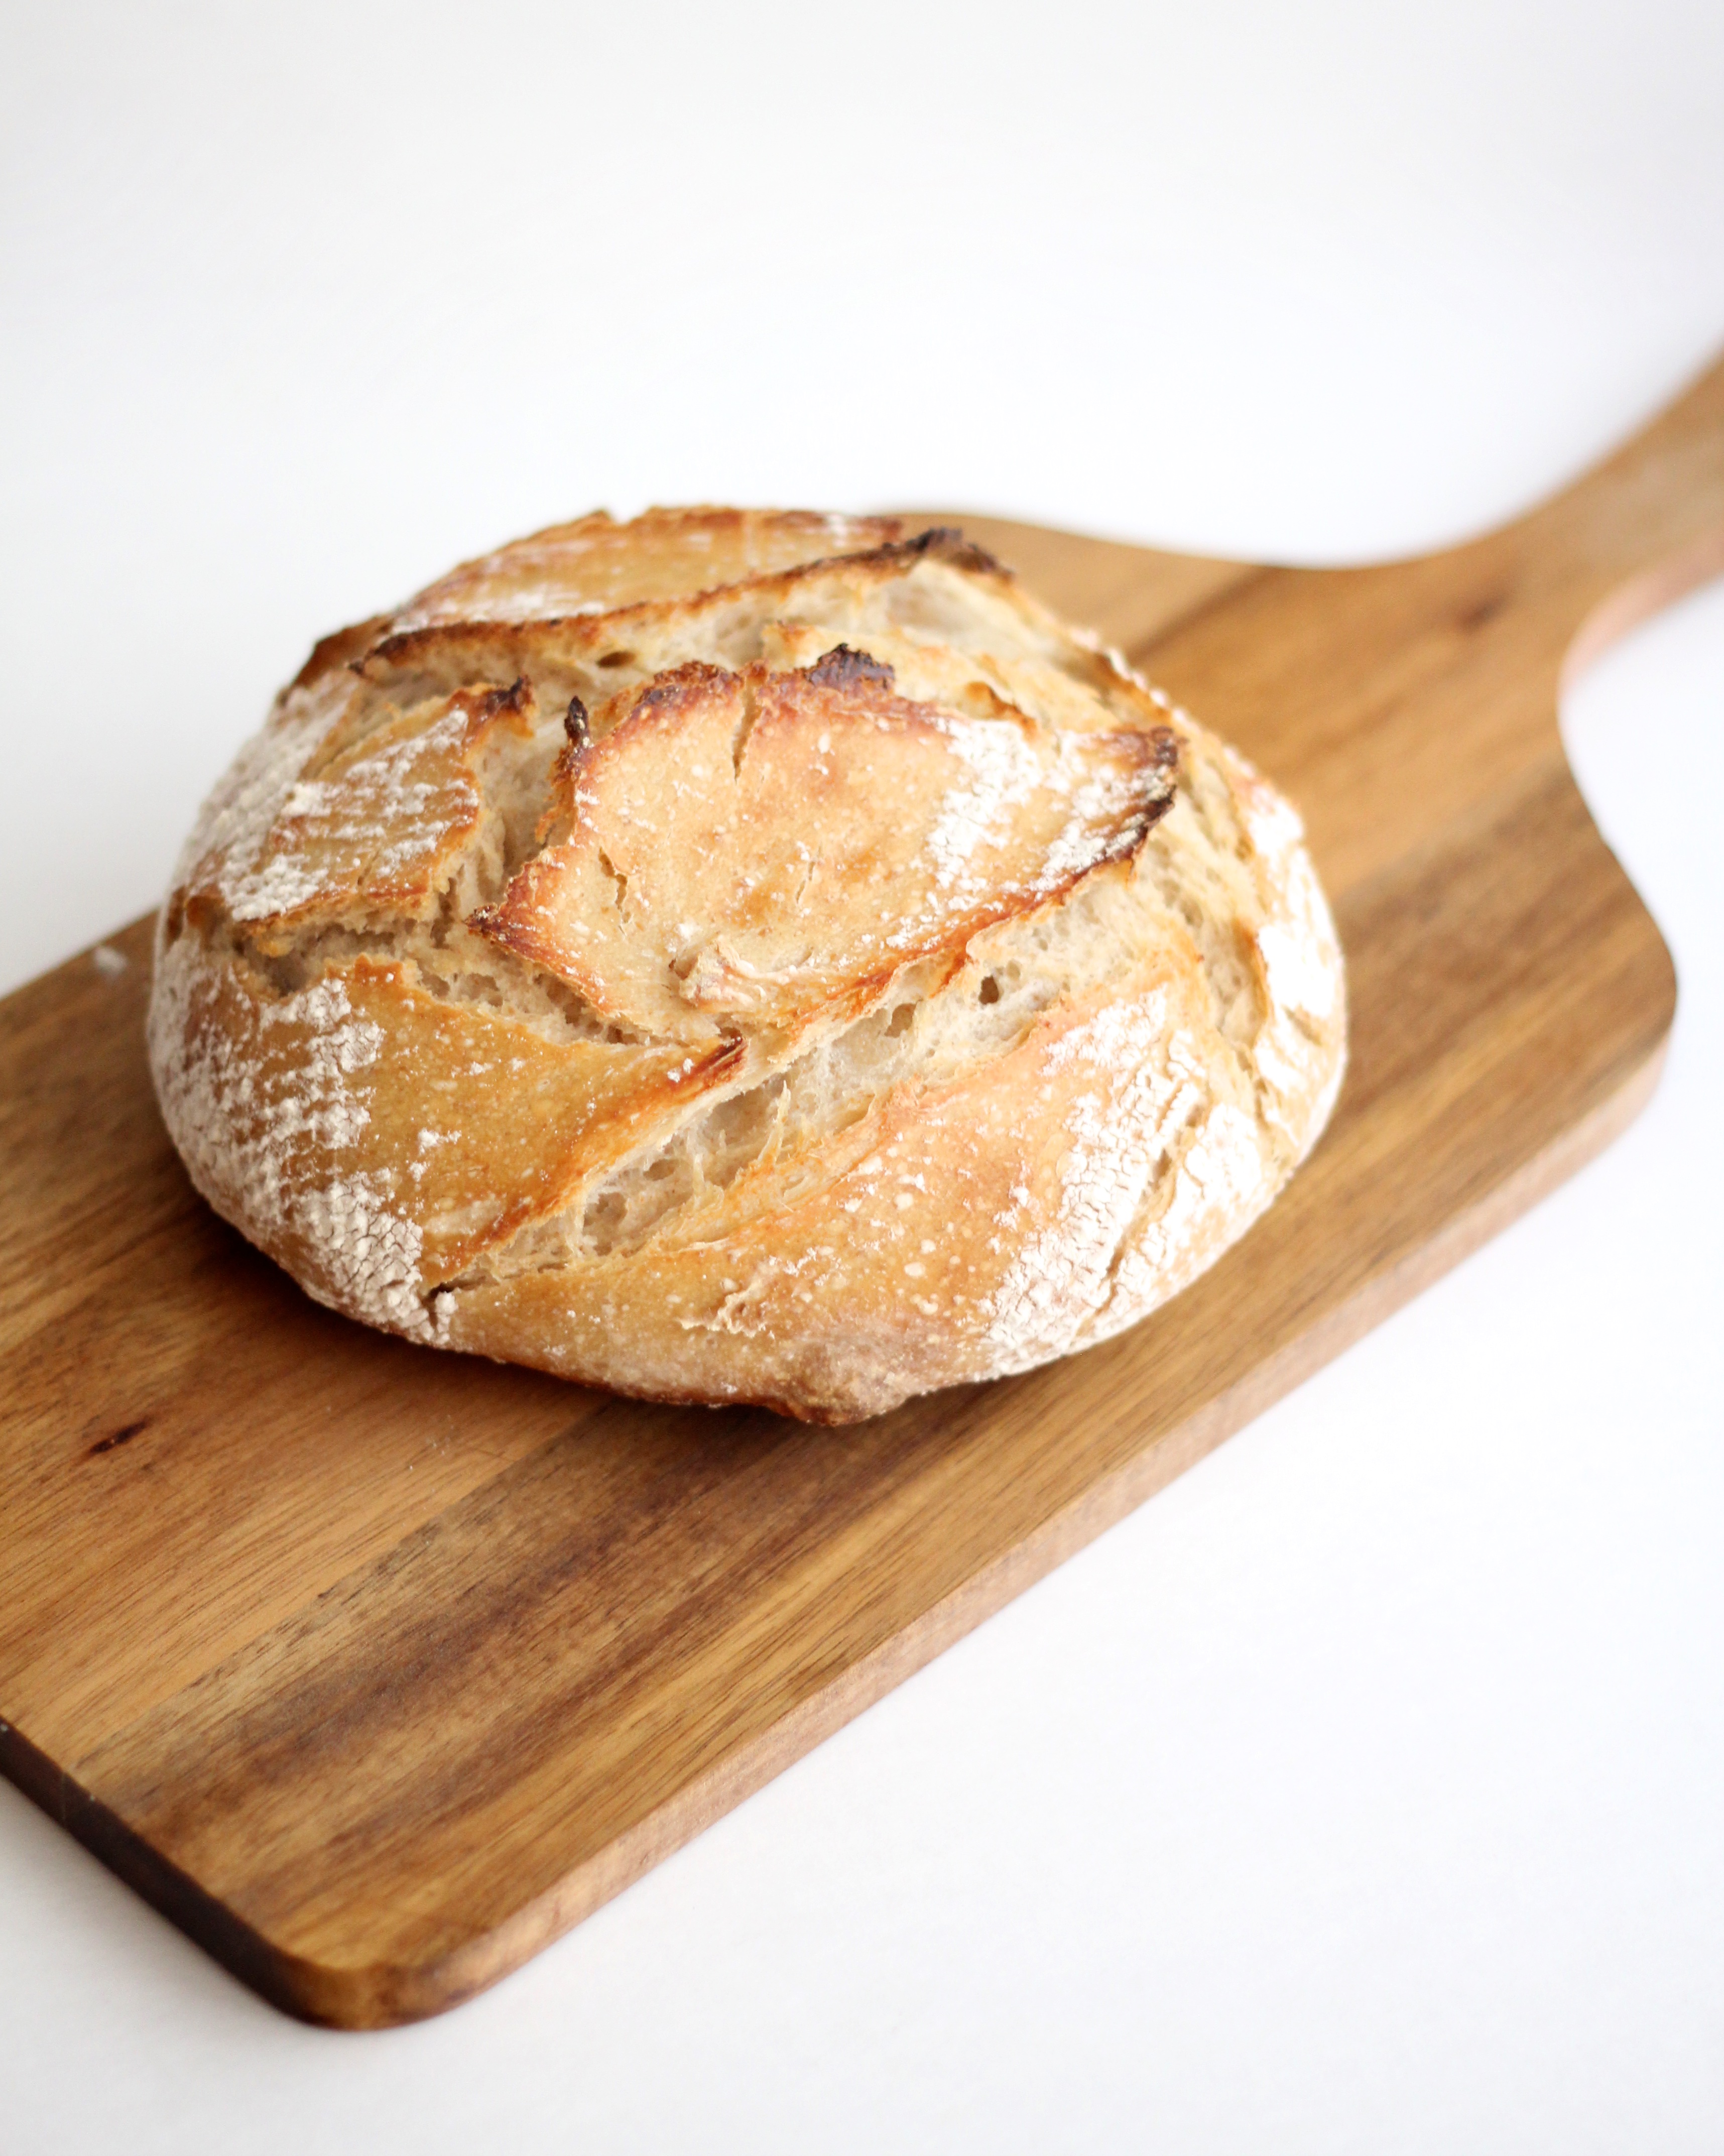
Beginner’s Rustic Sourdough Loaf
As promised, here is my beginner’s recipe for sourdough bread. It’s gloriously simple, has 4 ingredients (including water and salt, which barely count as ingredients), and has a very impressive result with minimal work. It’s easy enough for a beginner, but beautiful and delicious enough for anyone.
This is going to be a basic crusty white sourdough loaf. We’ll move on to whole wheat later, but let’s start with white because it’s easier to work with, has more consistent results, and it’s so yummy! I mean, look at it. Slap on a thick layer of cultured butter and heaven in your mouth. It’s perfect for a hearty sandwich, and even better with soup. It’s just a good, all-around loaf, and worth trying to make. I think you’ll be surprised how easy it is.
- Gather your ingredients.
- Add them all to a large bowl. Make sure you choose a bowl large enough to hold double the volume of what you’re putting in. It’ll get that big after rising. It’s better to have something way too big than too small.
- Stir with a wooden spoon. (If you have one, a Danish dough whisk is wonderful)
- This is what it should look like when it’s done stirring. Still a little craggy, but evenly stirred with no wet or dry spots.
- Feed your starter.
- Cover loosely with plastic wrap or a lid and let rise for 12~24 hours. If it’s warm, go with the shorter rise, if it’s cold, go with the longer rise. But really, this is a very forgiving loaf. I’ve totally forgotten about it and accidentally let it rise too long and still turned out a beautiful loaf.
- This is what it looks like after the first rise.
- Scrape the dough out onto a generously floured surface.
- What the dough looks like scraped out onto the surface.
- This is a very wet dough, so I prefer to use a pastry scraper, but you can use your hands for this. Start by pulling the dough from one side and folding over.
- Rotate and fold another side.
- Repeat with a third side.
- Keep folding until you have a relatively light little ball. It’ll take a few turns.
- This is after 5 turns.
- Now take the dough with floured hands, turn it over so the seam side is down, encouraging the tension you’ve created on the surface to stay.
- Place the ball of dough, seam side down, on a generously floured clean kitchen towel.
- Gently fold the towel over the dough and let rise for 2-3 hours.
- 30 minutes before the full rise, preheat the oven to 475°F with a large, heavy bottomed, lidded pot inside.
- After the second rise, gently place the dough inside the pot, this time seam side up.
- Cover the pot and bake for 30 minutes.
- After 30 minutes, remove the lid and bake for another 15-20 minutes.
- Let cool completely before slicing or tearing. Don’t be tempted to cut into the hot loaf. The bread is still releasing it’s last little bit of steam to create the perfect crust and crumb. Cutting into it prematurely will result in a denser, wetter bread.


- 3 cups unbleached (preferably organic) all-purpose flour
- 1/4 cup sourdough starter
- 1-1/4 teaspoon fine sea salt
- 1-1/3 cup cool water (preferably dechlorinated)
- In a large bowl, combine all of your ingredients and stir with a wooden spoon or dough whisk until thoroughly mixed. Cover and let rise on the counter for 12~24 hours. In warmer weather, go with the shorter rise, cooler weather the longer rise. Keep an eye out for the dough doubling in volume.
- After the first rise, scrape the dough out onto a generously floured surface. Gently pull one side of the dough over, turn and pull another side, and keep repeating until you have a tight little ball. It'll take 4~6 turns.*
- Generously flour a clean kitchen towel. Pick up the dough ball, seam side down, place it on the prepared towel. Loosely fold the towel over the dough and let rise 2~3 hours.
- 30 minutes before baking, preheat the oven to 475°F with a large, heavy bottomed, lidded pot inside.
- After the full second rise and preheat, Place the dough seam side up inside the preheated pot. Put the lid on and bake in the oven for 30 minutes. Then remove the lid and bake for an additional 15-20 minutes until the crust is a dark golden brown.
- Let cool completely before cutting.
- *This is a very wet dough, so I prefer to use a dough scraper to be sure I get all of the dough up, but you can use your hands to fold.
Comments
- Making Sourdough Bread - Top 10 Sourdough Bread Recipes - the LOL - […] 9. Making Sourdough Bread – Simple Rustic Sourdough Loaf […]
- White Chocolate Pecan Sourdough - Scratch Eats - […] thing is, I’ve learned a lot since my first beginner’s sourdough loaf method, and I do things differently now.…
- Homepage - ... [Trackback] [...] Find More Informations here: scratch-eats.com/2015/11/07/simple-rustic-sourdough-loaf/ [...]


Coley | Coley Cooks
November 11, 2015
Love this bread, and love this tutorial! Your photos are A++! I’m a summer girl at heart, but secretly totally stoked to be getting back into bread baking weather. I love the way it warms the whole house! 🙂
Lillian
November 17, 2015
Oh my goodness, thank you for your kind words! I’m the same way. I definitely prefer warmer weather in general, but there’s just something about bread and soup season that gets me so excited. I live in an old house with poor central heating, so I love the excuse in the winter to have my oven going pretty much all day. My kids and I make lots of baked goods for ourselves neighbors and friends, just to warm ourselves up!
Larissa
February 29, 2016
so I re-pinned this picture onto my piertenst because it looked so yummy! And TODAY was the day I decided to make it! From the moment I got to work, I’ve started all my conversations off with Let me tell you about my grilled cheese. And everyone is riveted! (seriously, people’s eyes lit up when I told them the ingredients) One of my co-workers even came down to see it at lunchtime. I have to admit, mine didn’t come out as beautiful as yours, but it was amazingly delicious! So thank you for the idea! I think you should re-invent all food. And I will be waiting to see what you come up with next!
Lillian
March 2, 2016
Larissa, you just made my day! That is the greatest compliment you could have given me. And I wish I could have seen (and tasted) your grilled cheese myself. Thanks so much for visiting, and keep me posted on your sourdough adventures.
Jill Mapoles
June 6, 2020
Have made this a few times with great results!! Last few times, it didn’t rise and has large air bubble on bottom?? Any idea what I’m doing wrong???
Cheri
November 11, 2015
I have been using a cast iron Dutch oven for baking my sourdough bread. I have several donabe – is that your preference? I hadn’t thought of using one but would like to. Would I want to plug the hole in the lid that vents the pot?
Lillian
November 17, 2015
I’ve used my enameled cast iron pot and my donabe, and both work beautifully. The bottom crust gets a little darker in the cast iron, as you can imagine. I got the idea to use a clay pot from Jim Lahey’s book “my bread”, and loved the results so the donabe became my usual go-to, but I’m sure I’ll alternate more frequently now that soup and nabe season is upon us:) I thought the hole on the top would be a problem so I used to plug it up with a screw but I forgot once and the result was pretty much identical, so I don’t worry about it anymore. Thanks for visiting and for your comment!
Margo
December 9, 2015
What is 1/4 c sour dough starter composed of? How do you make it?
Lillian
December 13, 2015
So glad you asked! I have a whole blog post about it. Check it out:
http://www.scratch-eats.com/2015/11/03/sourdough-starter-from-scratch/
Thanks for visiting! Let me know if you have any other questions.
erin
January 1, 2016
i’ve been cooking with sourdough starter for about a year now and this was hands down my family’s favourite loaf yet. thanks so much for sharing! i’m excited to try some of your other recipes (and make this one over and over and over again…).
Lillian
January 1, 2016
Oh my goodness! Thank you so much! I’m really happy you liked it. I’d love to hear more about your sourdough adventures, I still have a lot to learn:) Thanks so much for visiting and for your support.
Leanne
March 20, 2016
I’m excited to try this! Does it taste decently sour, like typical sourdough bread?
Lillian
March 23, 2016
Depending on the ambient temperature and rise time you can control how sour it turns out. Thanks for stopping by and let me know how it goes for you!
roy
December 15, 2016
hi
the first rise of the dough is in the room or refrigerator
Lillian
February 21, 2017
I always let it rise on the counter in a draft-free area
Janay Licudine
May 16, 2017
Awesome Blogpost Thanks for sharing.
Lillian
May 30, 2017
Thank you so much!
Rebecca
June 26, 2017
Thank you thank you thank you. Using this recipe I finally made a delicious sourdough. Better than any artisan bakery loaf I’ve ever bought!
Lillian
August 21, 2017
Oh that just makes me so happy! Thanks for letting me know 🙂
michelle
August 14, 2017
hey, this recipe looks amazing I am dying to try it! However, I do not have s litted pot suitable for the oven and I’m not sure if I want to purchase one right now, can you think of any substitutions? Thanks!
Lillian
August 21, 2017
Hi Michelle!
I’ve seen some bakers use a baking stone with a deep pan over the top. Do you have anything similar that could mimic that, maybe? Tell me what’s in your kitchen and we’ll figure something out together:)
Ebbn
December 26, 2017
Thanks for the recipe, illustrations are great too. My only question is, how do you transfer the dough? After a full 2hr rise, dough is very hard to handle without losing its loft, and I’ve always managed to burn myself putting it into a hot dutch oven. What’s your secret?
Bakers are special souls, who nurture and warm the spirit of others. Thanks for being a baker and sharing!
Lillian
January 6, 2018
I agree, it is a bit tricky to get it into the pot. My only advice I can give is to be careful;) Also, you might want to try a cast iron combo cooker with the skillet on the bottom and the pot as the lid. That way you can really avoid burning your forearms. Thanks for visiting!
Wendy
May 6, 2018
I use parchment paper. I lightly wet a piece of parchment paper cut big enough to line your proofing bowl, and then when risen simply lift the parchment paper out and place in your hot Dutch oven or cast iron pot. Just make sure your payment paper is cut big enough to line the sides of your proofing bowl and Dutch oven/cast iron pot.
Bethel
January 25, 2018
I’ve tried this several times, and it never quite turns out like your photo. I follow the directions to the letter, but these last two times I had to add more flour. This most recent time, it didn’t quite rise the second time. Thoughts?
Kendall
April 13, 2018
For anyone without a heavy bottomed lidded pot, I used a cast iron skillet and put a glass pie plate upside down on top of it! It worked pretty well and was done cooking after 25 minutes. I left it in a little bit too long without the pie plate and it started to burn the edges. It would have been done after the original 25 minutes.
Kathleen
June 13, 2018
When do you all the starter? Do I feed the starter one more time before I add it to the rest of the ingredients?
Kate
June 30, 2018
Would there be any changes to the recipe if you wanted to use half whole wheat flour half regular flour? Thanks!
Heidi
July 26, 2018
This is probably a very stupid question, but do you remove the kitchen towel before baking? I’ve never made sourdough bread before but am looking forward to trying! I have a Japanese nabe, which looks like I can use for making this. Never thought I’d use it for baking bread! I am also of Japanese heritage, nice to meet another with similar passions 🙂
Betsy
December 2, 2018
I’ve made this loaf 10+ times now, it comes out great every time! Thank you!
Last time I made two loaves, added everything bagel seasoning to one and rosemary and roasted garlic to the other. YUMMY
Tom
December 17, 2018
This recipe kept me from giving up on levein bread. It turned out beautifully and was delicious. Perfect recipe for a beginner as you said. Blessings to you.
April
January 9, 2019
I made it today and it looks beautiful. I used a sort of sling made of baking paper underneath it for the second rise so I could just grab that to lift it from the bowl into the dutch oven and it worked beautifully. I wish I could attach a picture of it for you to see!
Mike and Tanya
February 9, 2019
always a great simple recipe! Thanks for the four ingredient yummy rustic bread for a snowy day like this one! P.S. We let it rise in the parchment paper in a large bowl, then placed it into the dutch oven with perfect peeling away from the loaf when cooked.
Monique
June 29, 2019
Hi, I’m very excited to try your recipe as it seems quite simple. I’m starting with sourdough baking and I normally let the dough 2nd rise on the fridge overnight, on a proofing basket, this way I can bake it for breakfast. Have you tried this? And could I use a “Pyrex” with lid to bake the bread? Thanks for sharing. ❤️
kim
August 29, 2019
Would you be able to give the measurements in grams?
Tabatha
November 23, 2019
I am getting a beautiful rise the first time and great flavor, but my second rise isn’t very high and my finished loaf is pretty flat. Any tips?
Christen
April 6, 2020
Do you grease the pot?
Chris
April 27, 2020
Can I use the whole wheat starter recipe from your website in this recipe with white flour?