White Chocolate Pecan Sourdough
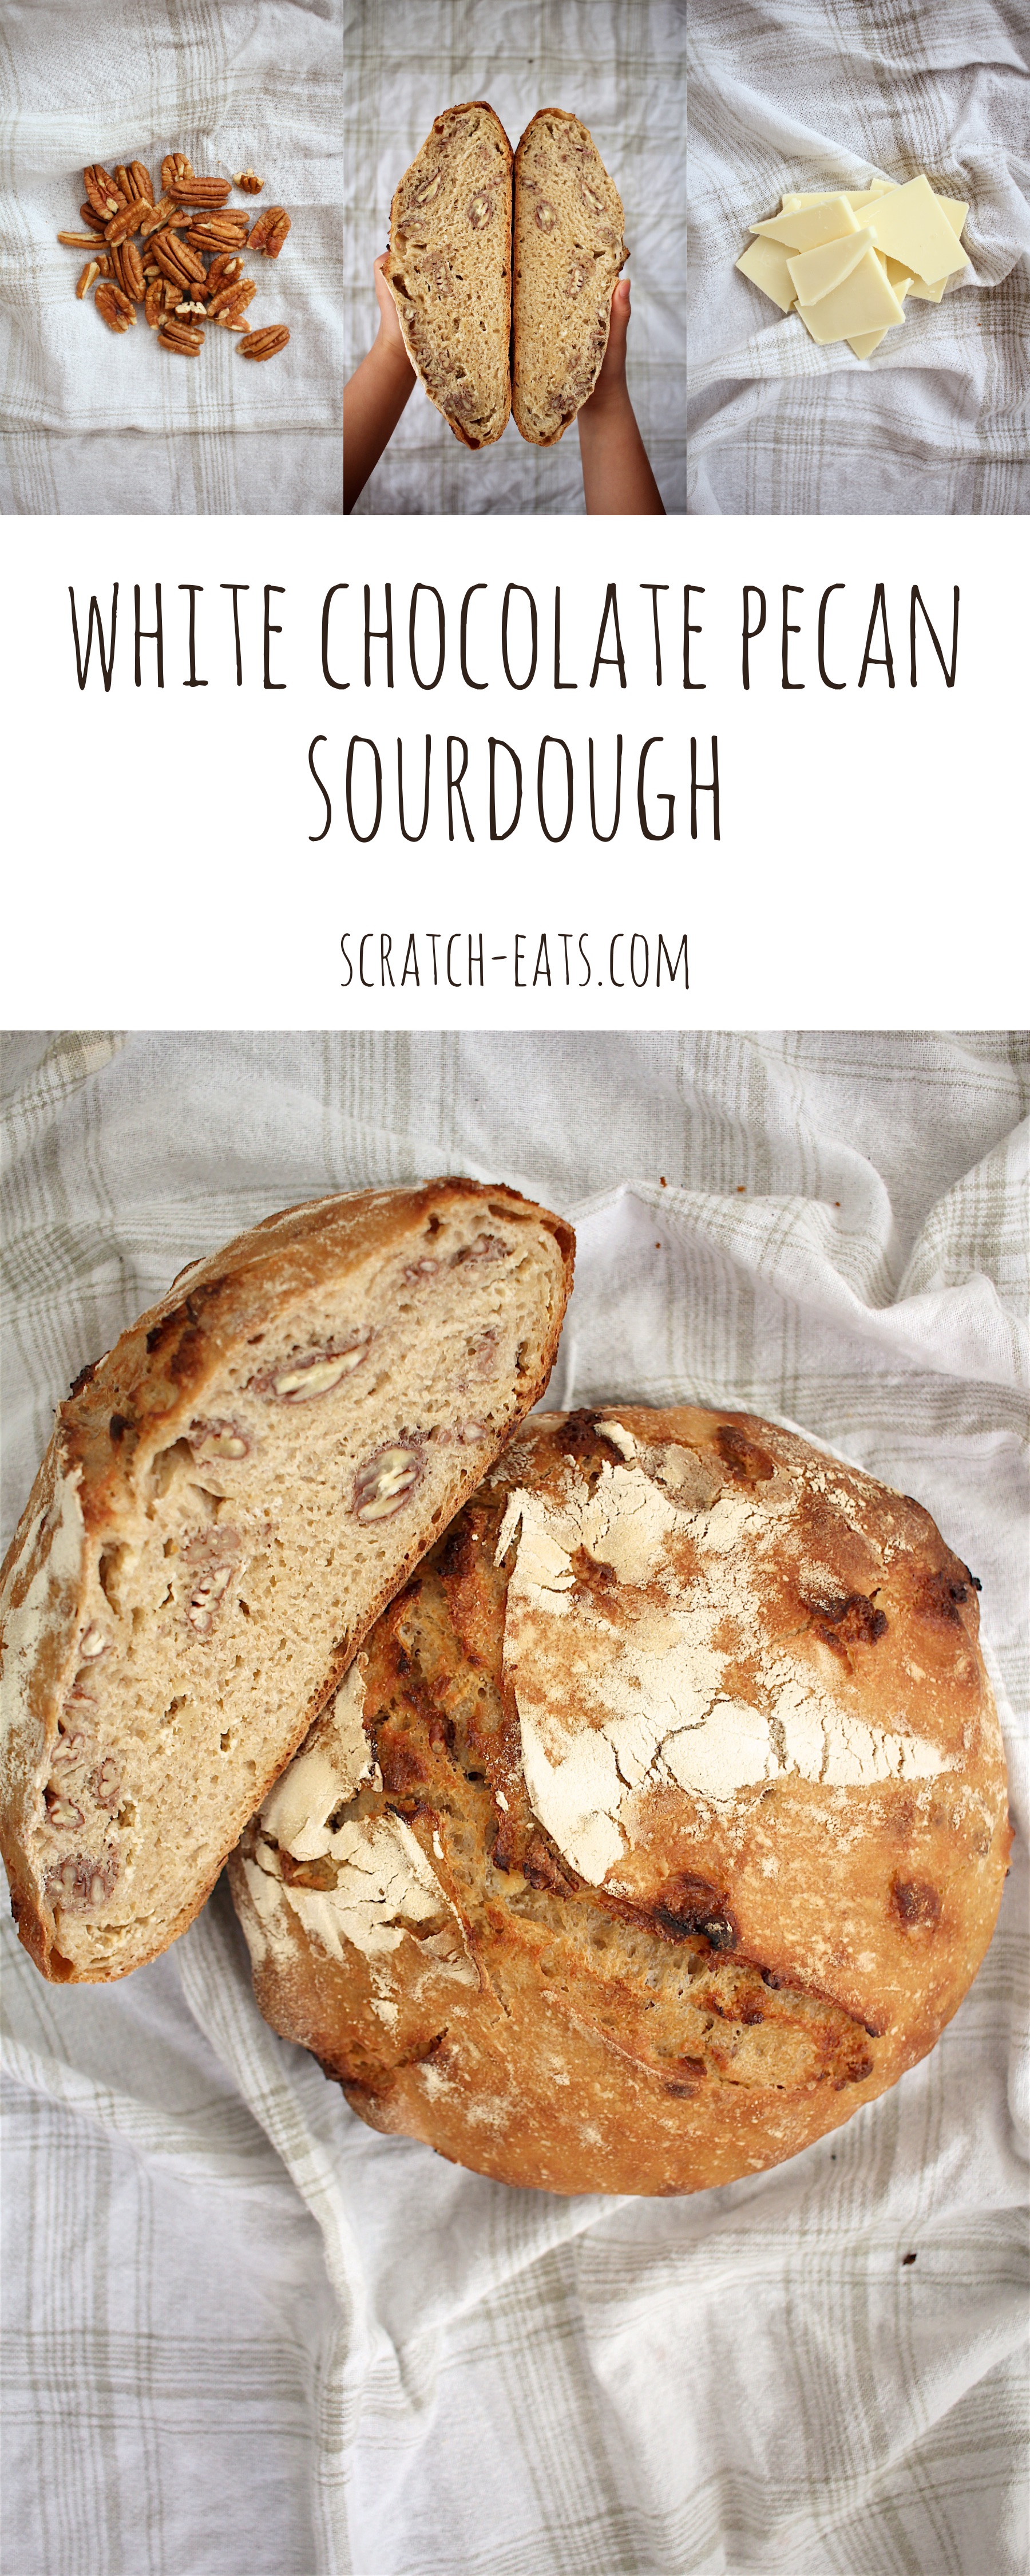
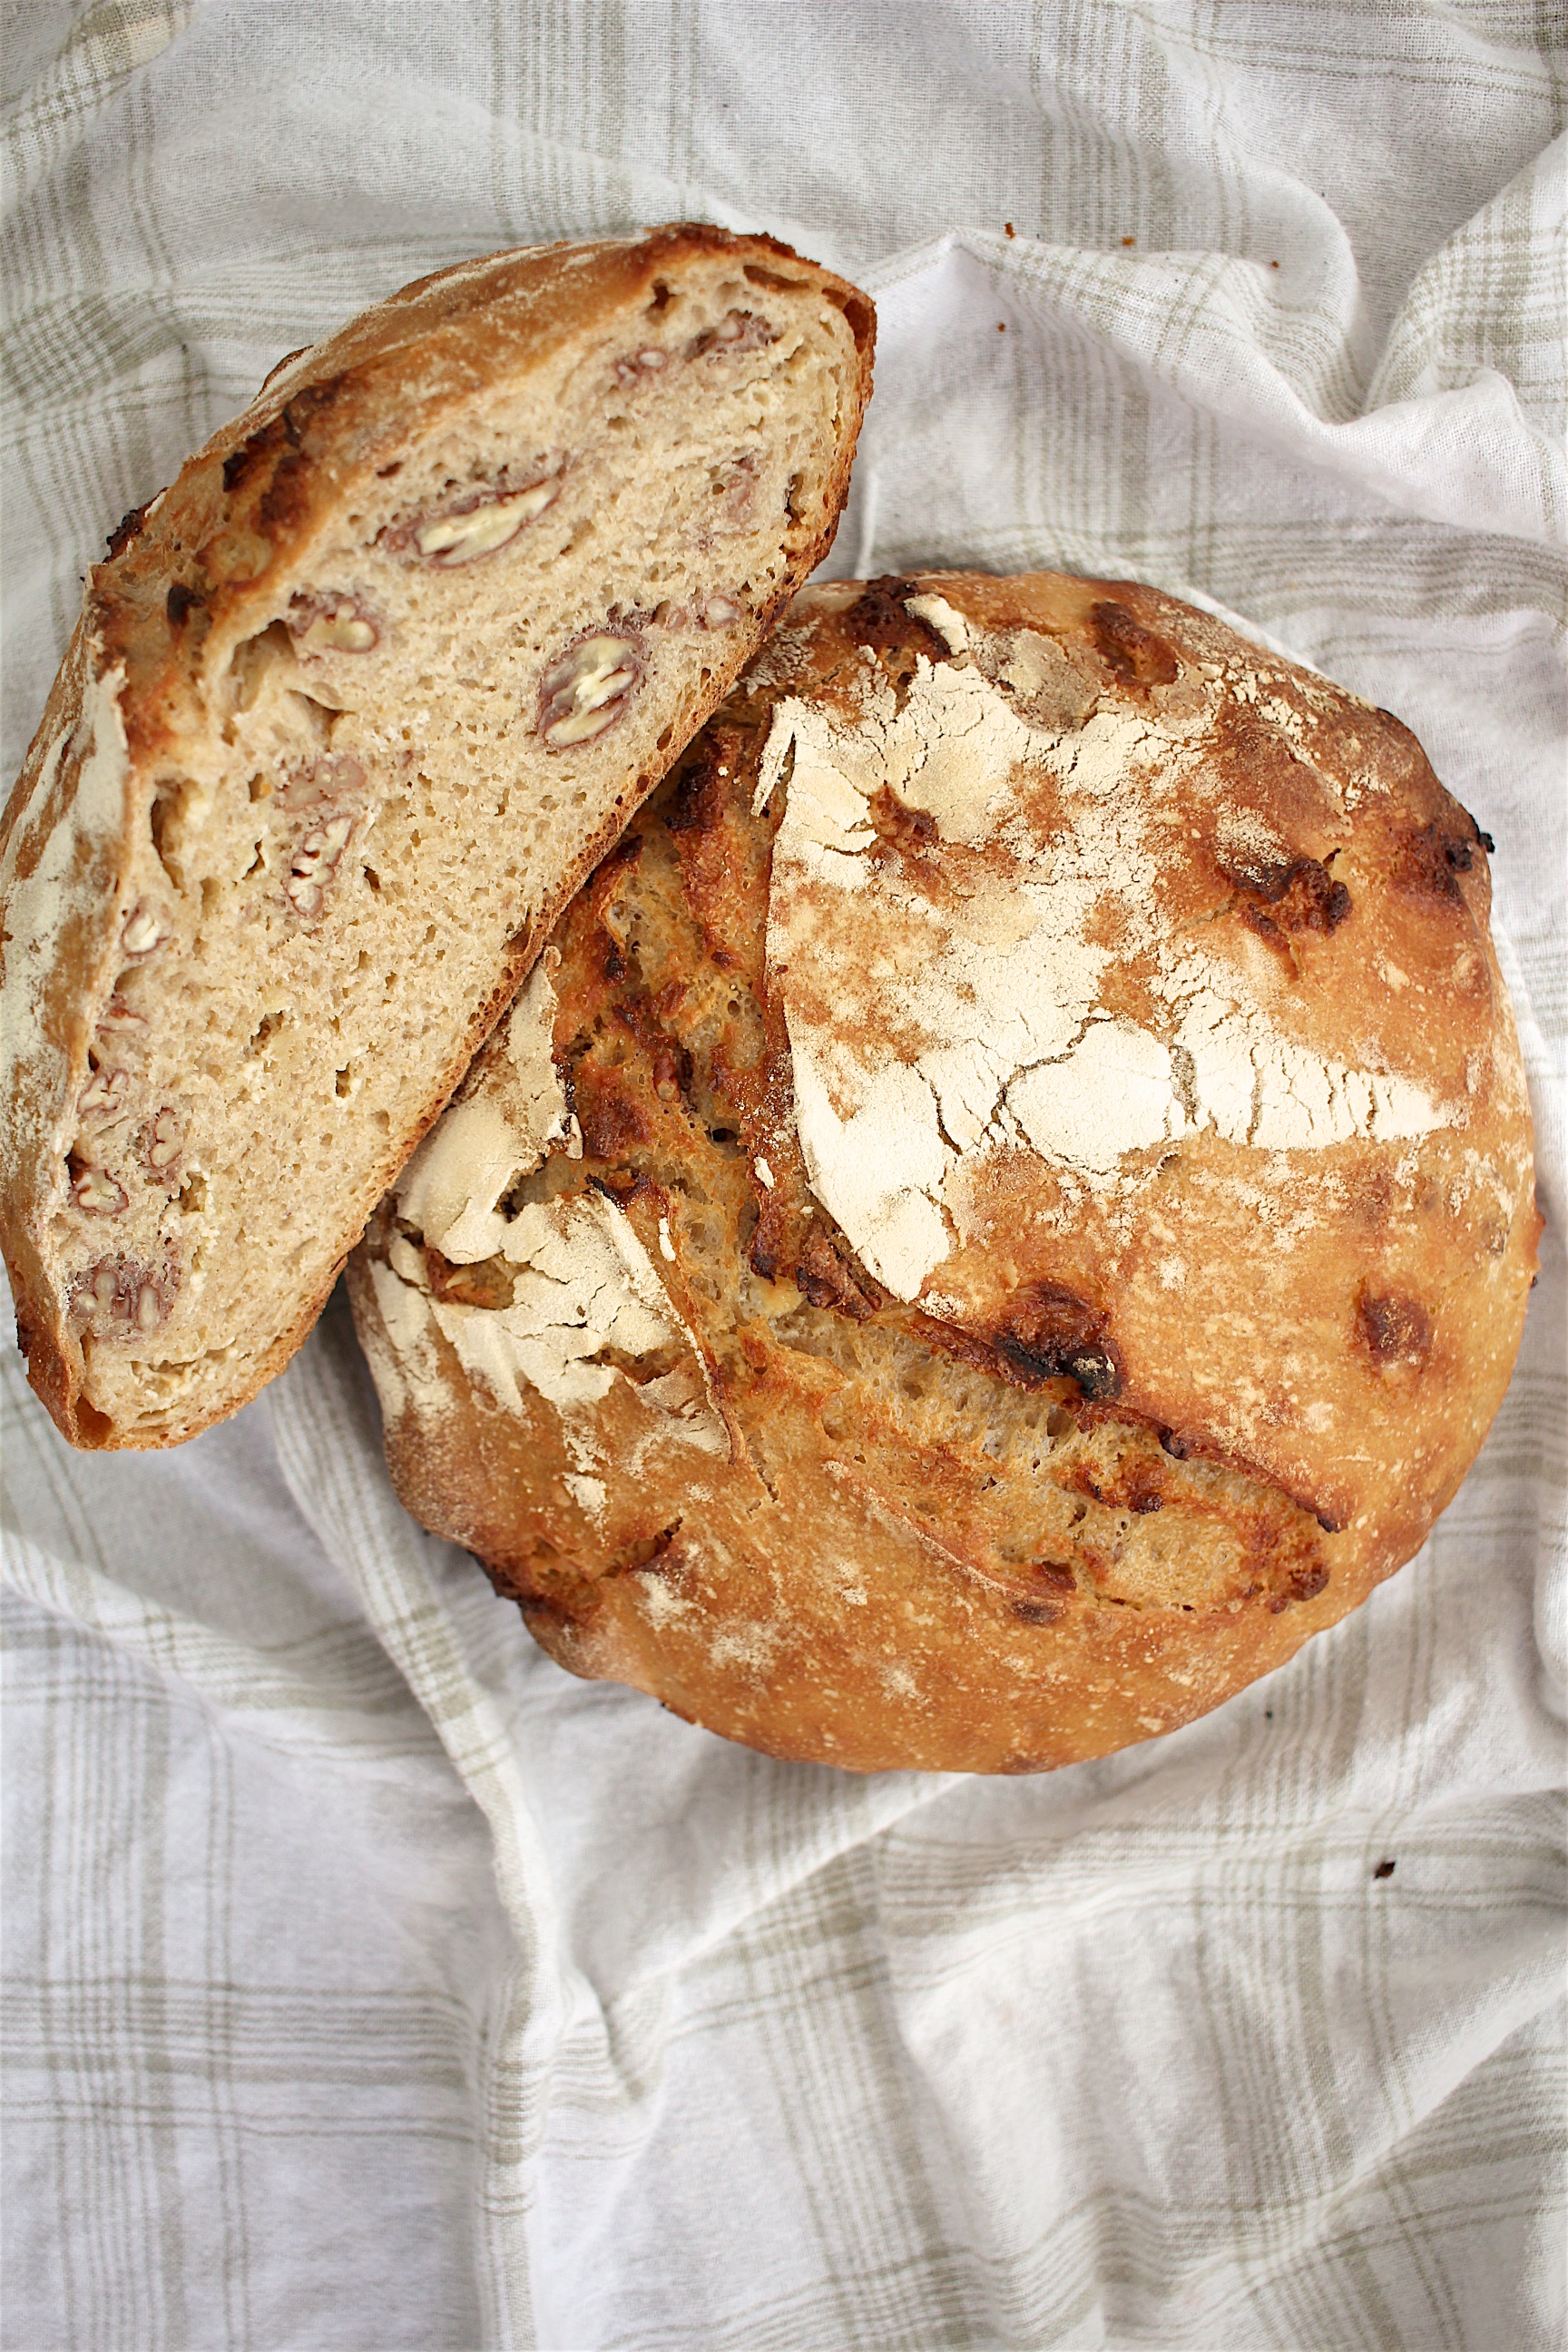
White chocolate pecan sourdough is a nutty, crusty bread with little pockets of sweetness from the melted white chocolate and once you have a taste, you won’t be able to go back to life without it.
Back in December, I drove across the country with a cooler dedicated to my Midwest-grown starter to move my family to Utah. It was a crazy, unexpected, and exciting move, and our favorite part has been living close to family. Pretty much as soon as I arrived, my mom started making requests for bread, raving about one particular bread from a local grocery store here. Soon after, I tasted this bread and knew I had to give it a try and on Christmas Eve, I got to work. Woke up early Christmas morning to bake and deliver 2 loaves to my mom while it was still warm. It was one of my better Christmas gifts.
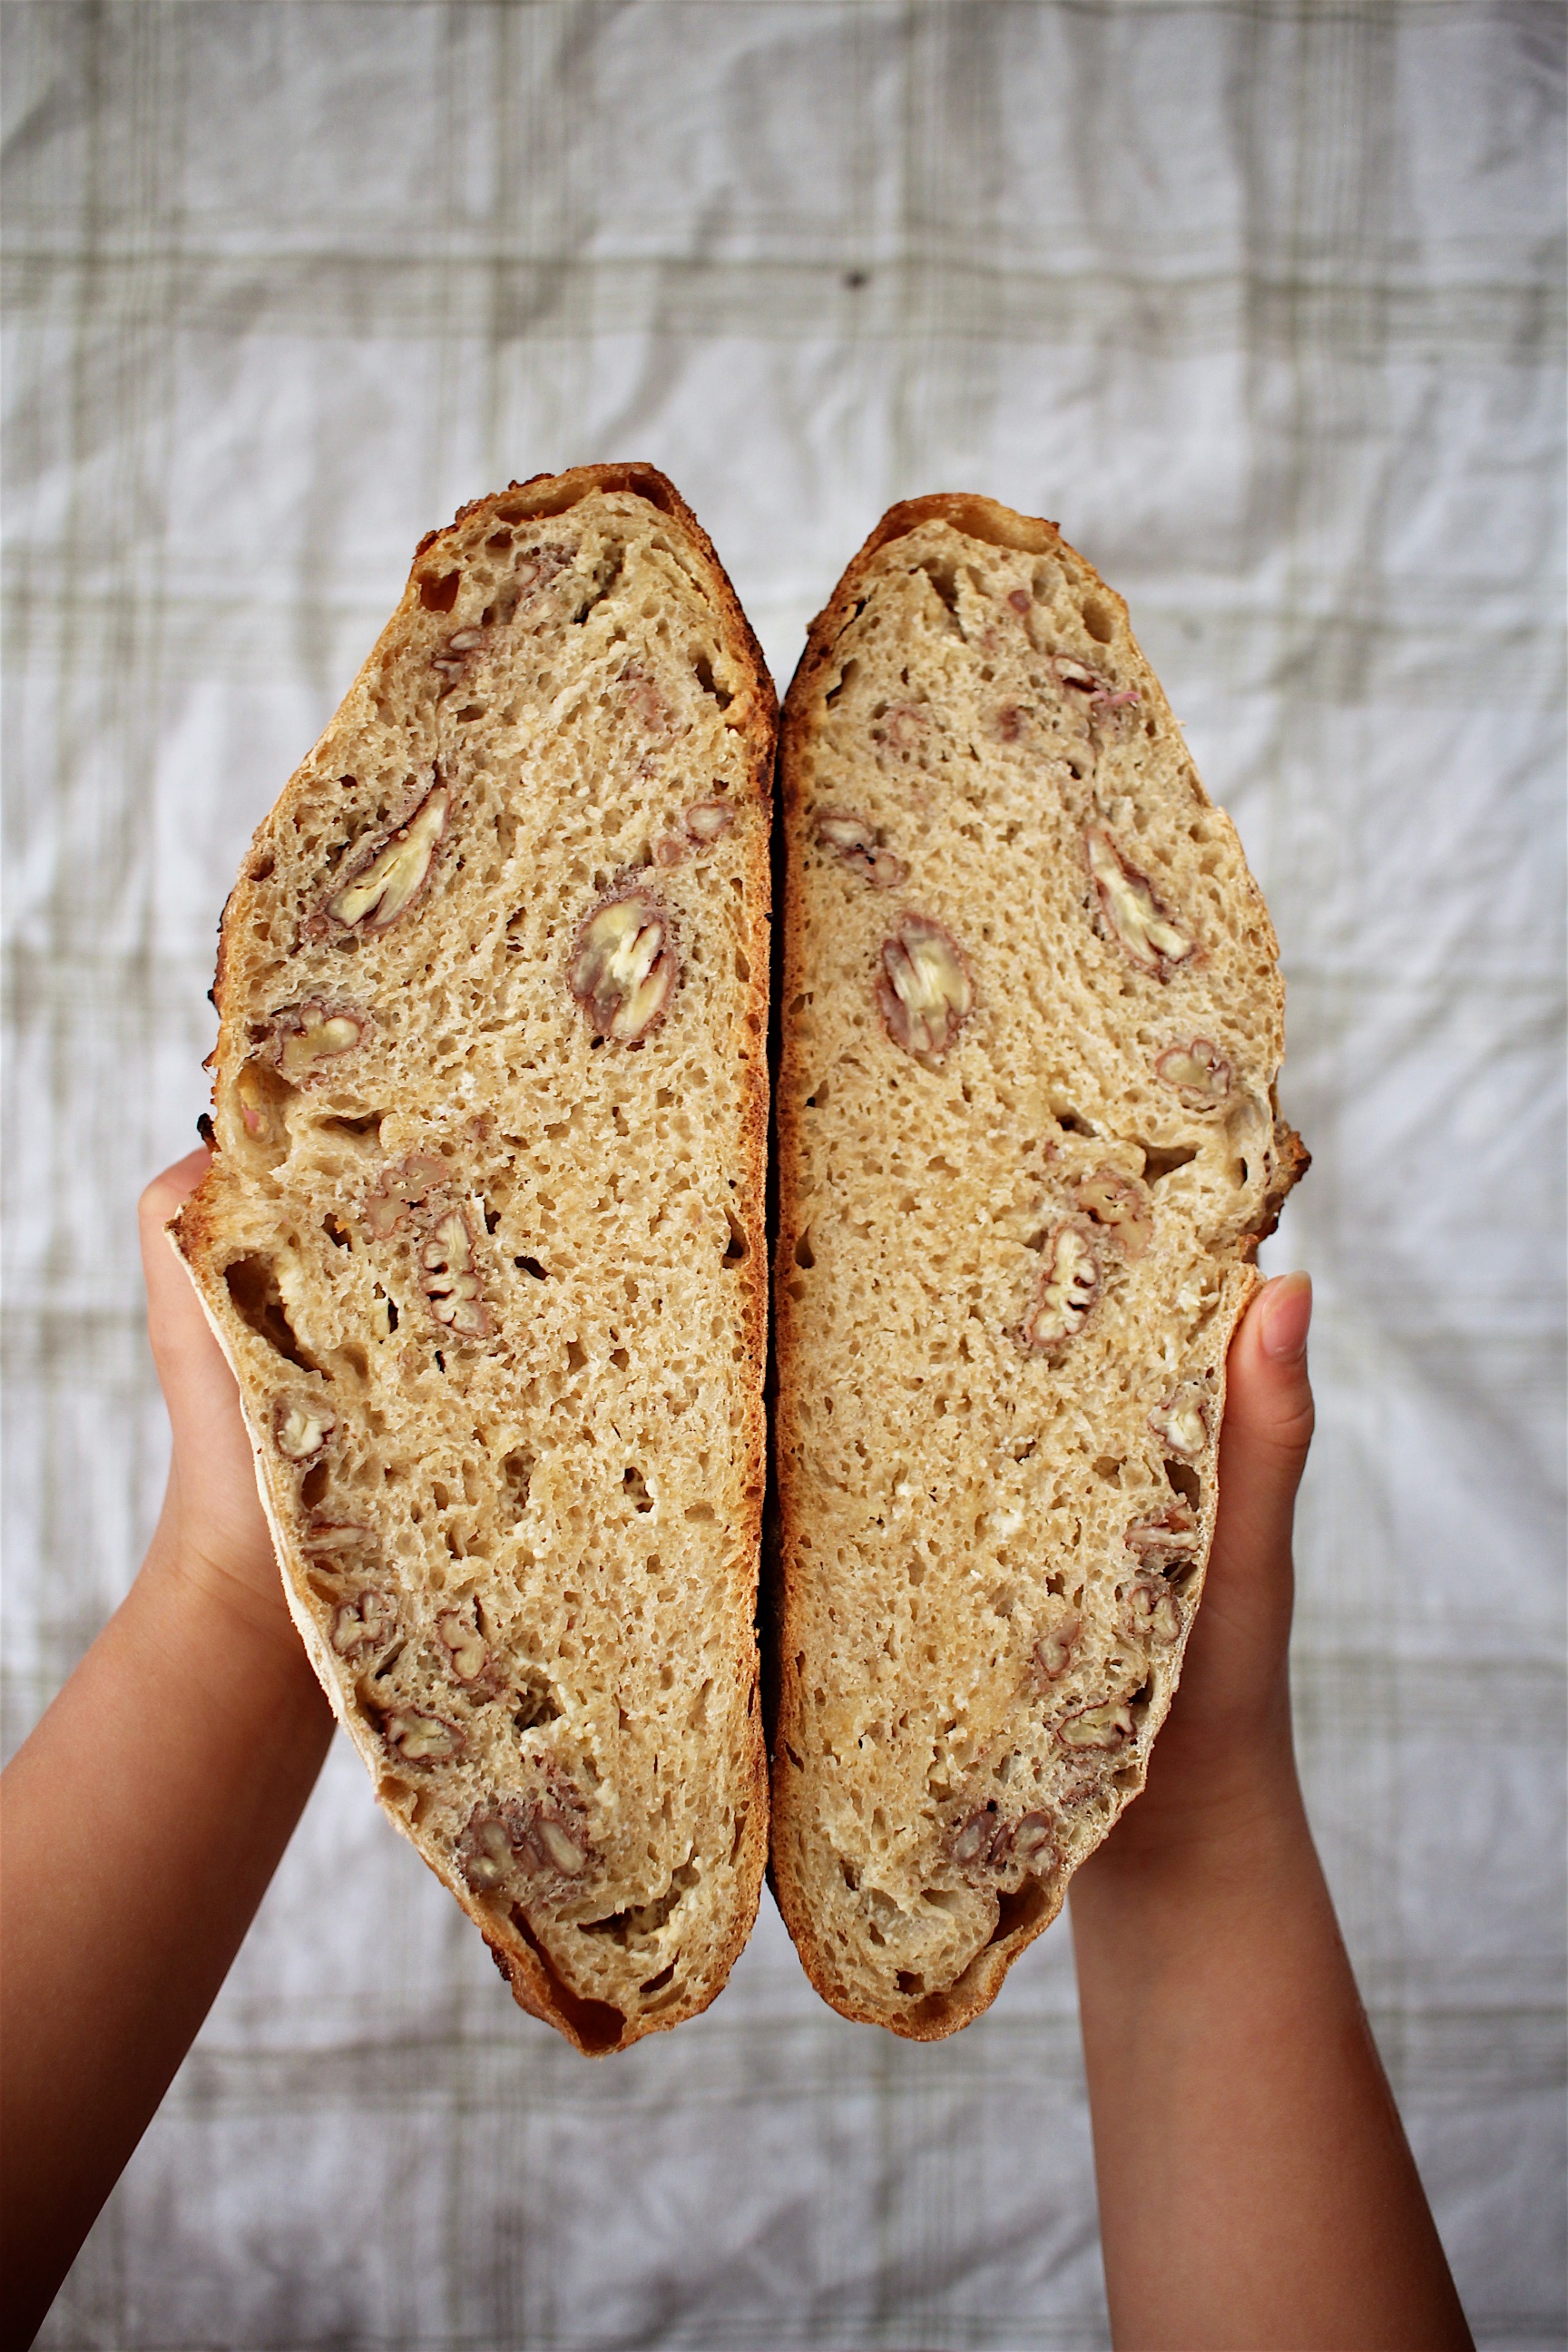
Now, I can’t say it’s exactly like the bread from the store, I definitely took my own knowledge and style and schedule and basically just added white chocolate and pecans to it. And decided to add 30% freshly milled whole grain Einkorn flour to it for added depth of flavor and texture.
The thing is, I’ve learned a lot since my first beginner’s sourdough loaf method, and I do things differently now. But I still stand by my original recipe for any beginner or really, for anyone. It produces consistent results without making you feel too overwhelmed.
So considering that, this may be a little bit more of an intermediate level bread. But it’s still totally doable and easy and if you’re worried at all, let’s talk and I’ll hold your hand and talk you through it while you breathe into a paper bag. (But I really hope it doesn’t come to the paper bag part)
If you’re a greatly appreciated long-time reader of mine that’s actually tried the Beginner’s sourdough, let me first say THANK YOU and just explain the changes before you run off. (Please don’t go! This is very exciting stuff and you can do it!)
- The schedule is different. But very manageable. In fact, I feel like it’s more convenient and accommodating to my life.
- We use a ripe, fed starter. Not straight out of the fridge. So you do have to think backwards about an extra 8~12 hours and add that to your timeline. I always feed my starter right before bed, and wake up to it all happy and ready for mixing. It’s actually lovely.
- We fold the bread a few times during the first rise. (watch the video to see what I mean) This helps to increase surface tension and encourage good gluten development. Which means better, more consistent bread with fantastic rise and that lovely texture we all love.
- Probably most importantly (and as I mentioned in my naan recipe), everything is measured in weight rather than volume. No more measuring cups or spoons. Everything is done on the scale.
If you don’t own a kitchen scale, may I recommend my two favorites (yes, I own more than one, I’m nerdy and excessive like that) The OXO Good Grips 11-pound capacity kitchen scale and the Amazon basics digital kitchen scale. Both are fantastic, and I use them frequently.
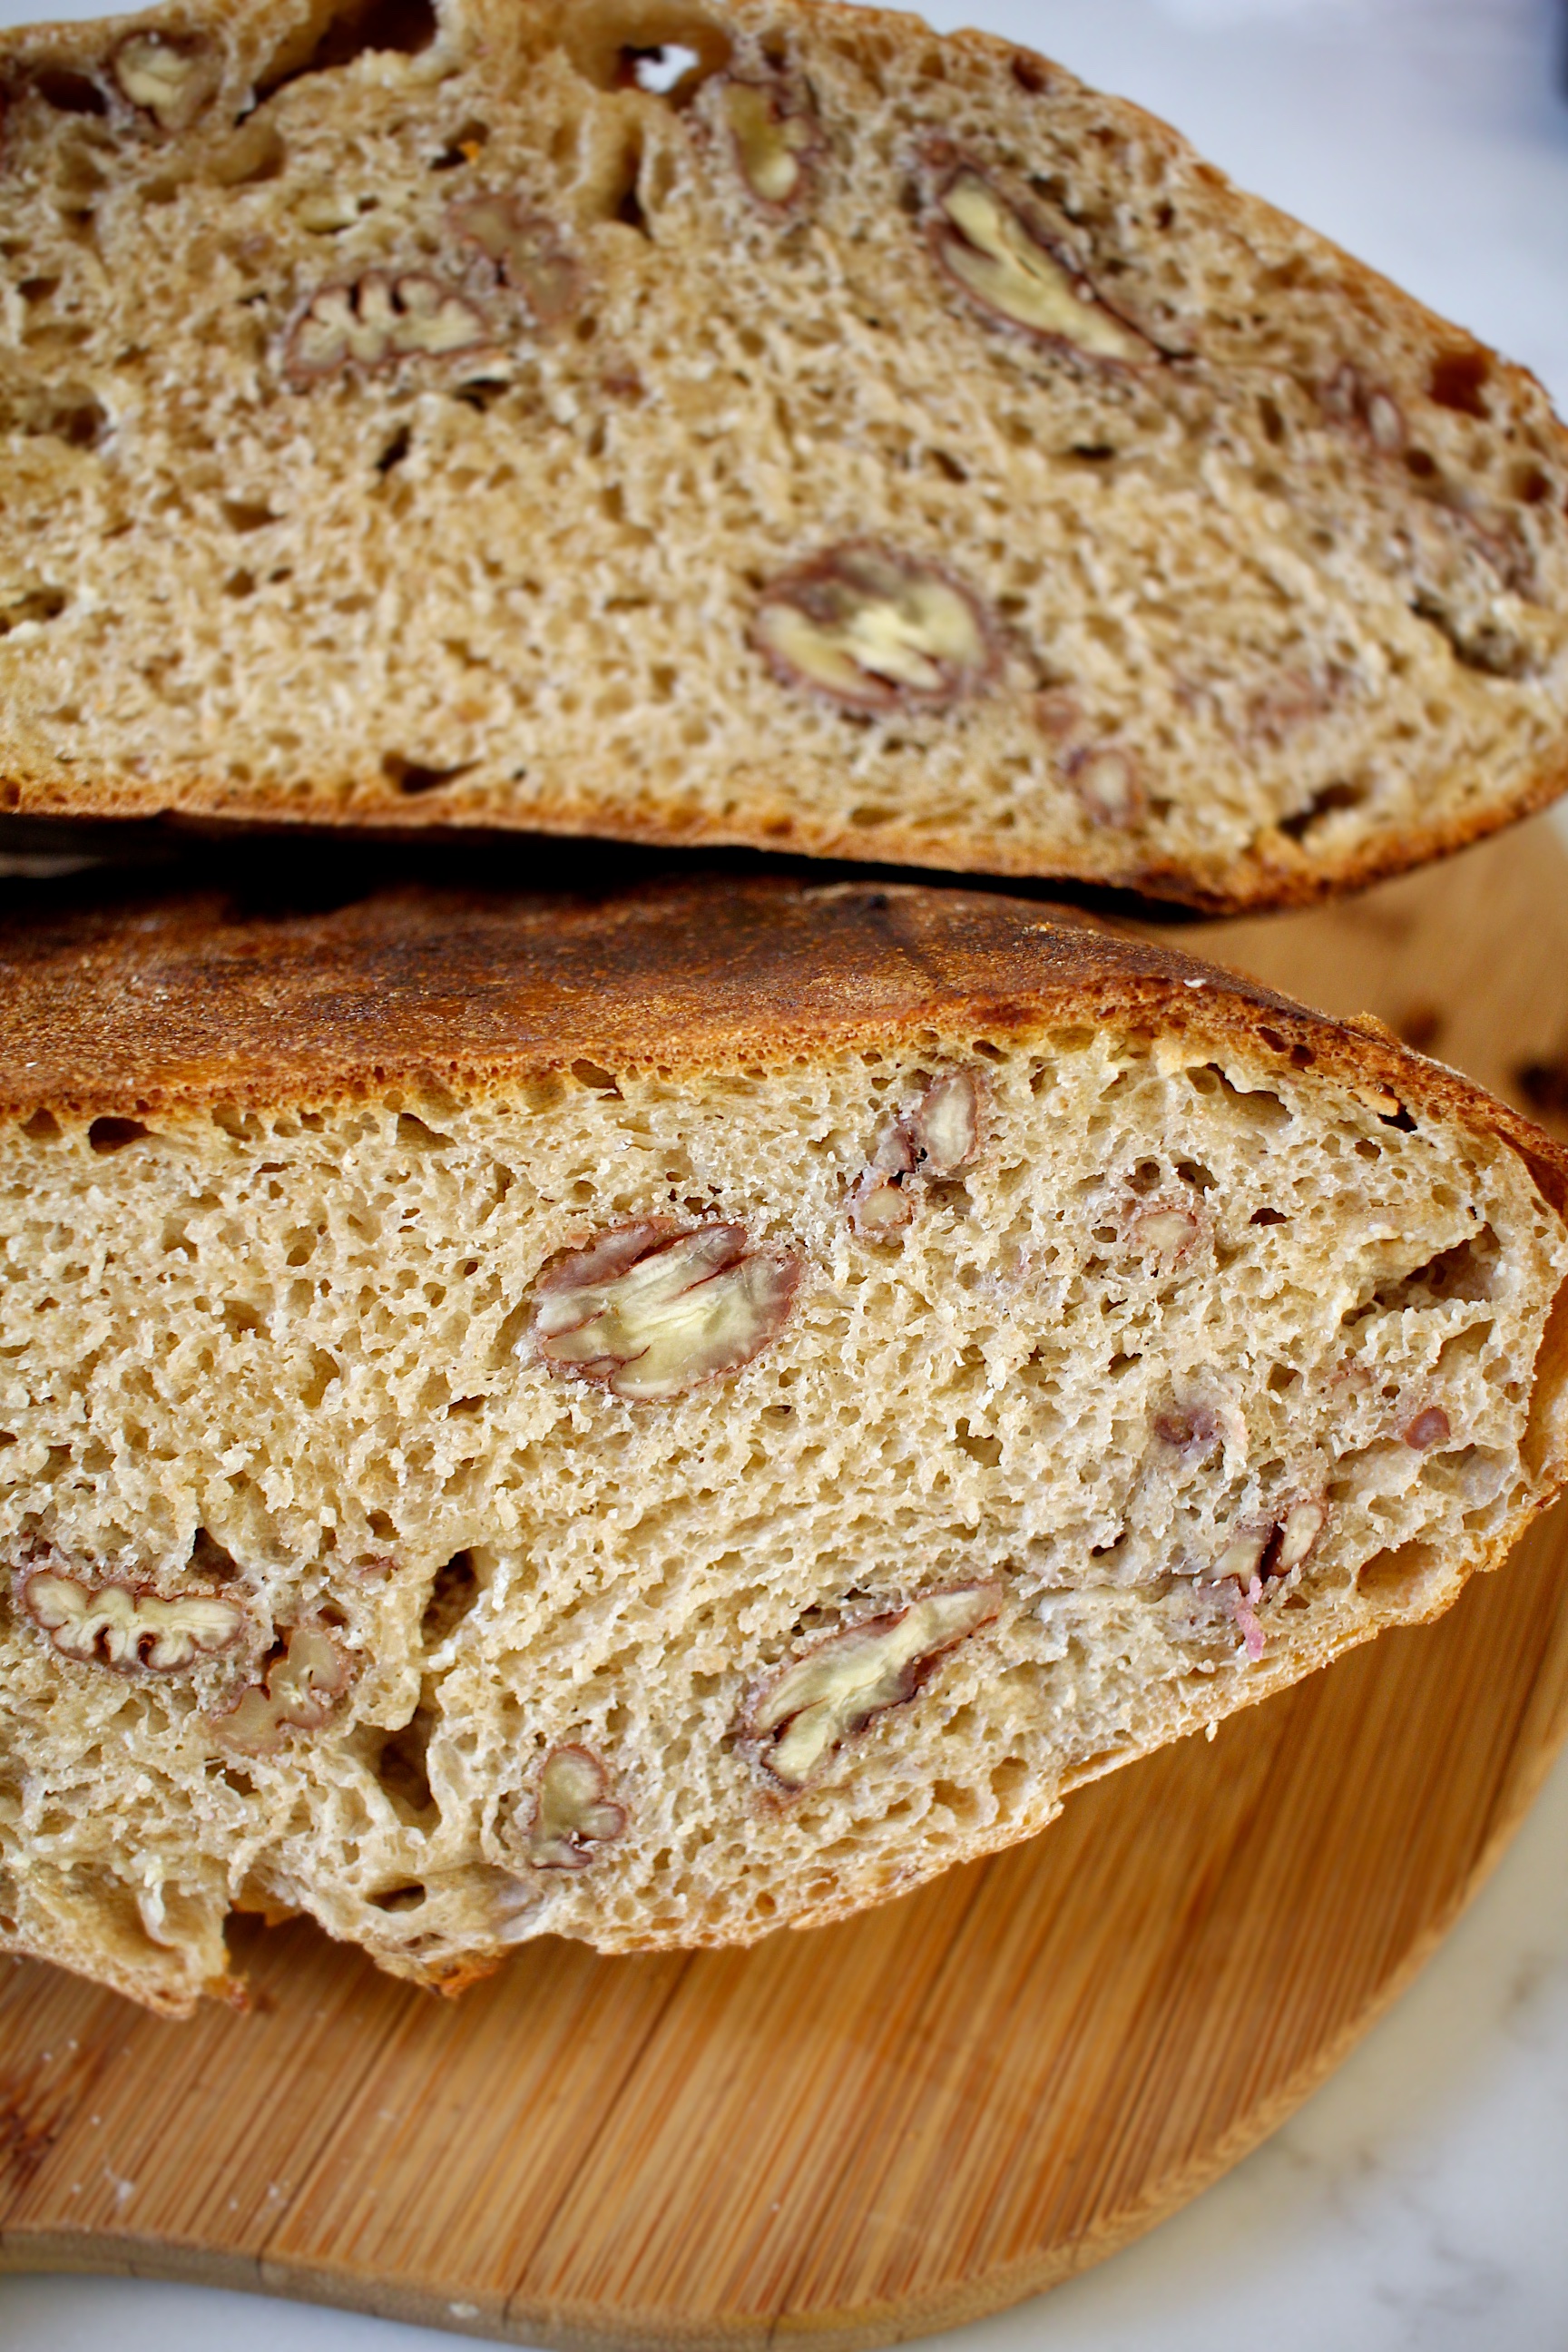
Ok, but let’s talk about this bread. Pecans might be my favorite nut, honestly. It has such a natural sweetness to balance the darker nutty notes and pairs so well with the vanilla-heavy white chocolate. And the white chocolate is so gooooood. It melts in the bread at some parts and the ones closer to the surface kind of caramelize and get a little crunchy. It’s just a match made in heaven and it’s the perfect bread for a snack. Or breakfast. Or lunch. Or heck, even dinner.
One tip: you may get some charred bits of white chocolate on the bottom of your pan. And trying to scrape them off is just miserable. Fill your pot with water and 1/4 cup baking soda. Let it boil for 5~10 minutes, gently scraping up loose parts with a wooden spoon. Turn off the heat and let the water come down to a manageable temperature but still very warm. Pour out the water and you should be able to wash it like normal and have it all come off. If not, make a paste with baking soda and water and scrub the pot, and the rest should come off easily without causing any damage to your pot.
Enjoy!


- 700 grams cool, filtered water
- 200 grams ripe, fed starter*
- 700 grams all-purpose flour, preferably organic
- 300 grams einkorn (or other whole wheat) flour, preferably freshly milled
- 20 grams salt
- 150 grams white chocolate (chips or a bar that's been chopped)
- 150 grams pecan halves
- In a large bowl, combine the water and the starter and stir to combine. Add the flours and salt and stir together until it becomes a cohesive mass. You may need to use a bowl scraper to finish mixing. Let the dough rest for 15 minutes to fully absorb the water.
- With damp hands, reach under the dough on both sides and lift the dough, tucking the top of the dough under itself. Turn the bowl and repeat on all four sides. Cover and let rest another 15 minutes.
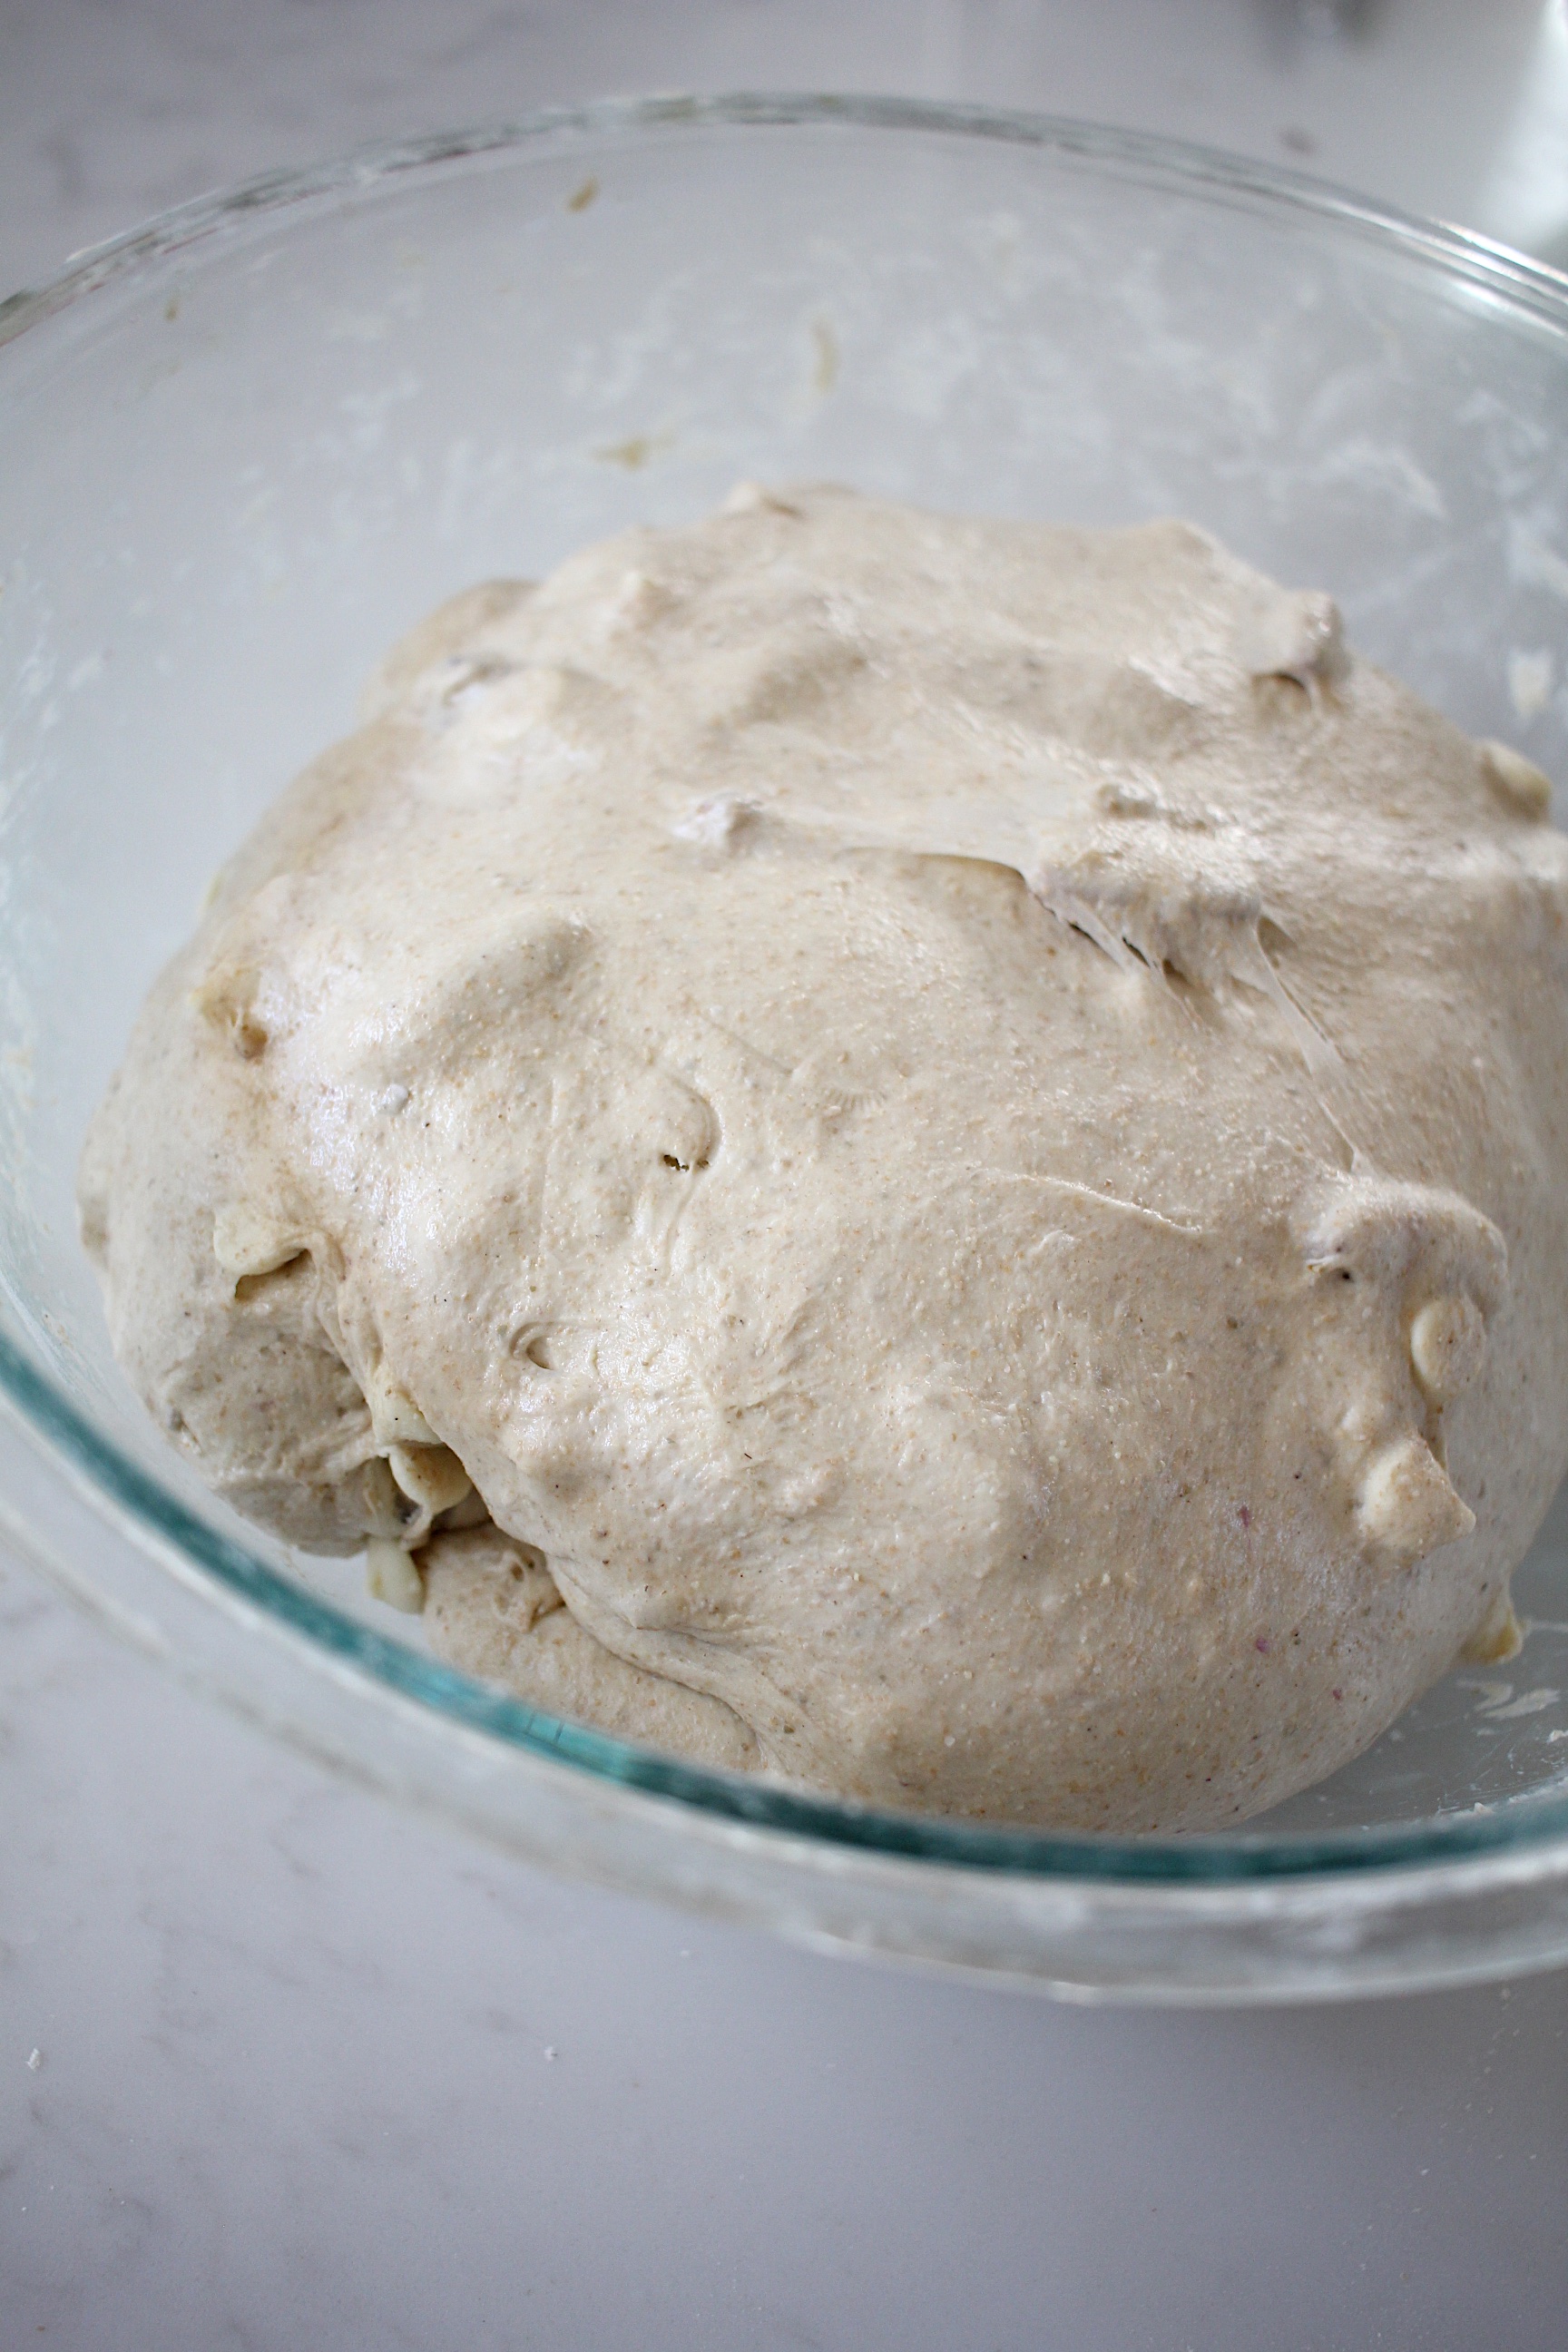
- Add the white chocolate and nuts and, using a dough scraper, fold the dough from underneath, up and over the pecans and chocolate. Repeat until the nuts and chocolate seem relatively distributed. Cover and let rest another 15 minutes.
- Again, with wet hands, lift the dough from both sides, tucking the top underneath. Rotate the bowl to fold all four sides under.
- Repeat this folding technique every 15 minutes for the next 2 hours. Then cover and set aside for 5 hours, until the dough has nearly doubled in size.
- Scrape the dough out onto a lightly floured surface and cut in half. Gently press one of the pieces into a long oval. Fold it into thirds and tuck the sides under. At this point I like to gently draw the dough toward me, seam side down, kind of dragging the bottom of the dough underneath to create more surface tension. Repeat with the second side and let the two balls of dough rest on the counter for 10~25 minutes.
- Prepare 2 medium sized bowls (large enough to comfortable house the dough if it doubled) with a clean kitchen towel in each and dust generously with flour. Place the dough, seam side up, in the bowls. Cover with a plastic bag large enough to have ample space and seal or tie shut. Place in the refrigerator for 12~18 hours, when it's almost doubled in size.
- When ready to bake, Preheat the oven to 475°F with a large, heavy bottomed pot inside.** Once preheated, remove the dough from the fridge, place it seam side down into the preheated pot, and score the top if you'd like to, but it's not necessary. Place the lid on and bake for 30 minutes.
- After the first 30 minute bake, remove the lid and continue to bake with the lid off for an additional 10~15 minutes until deeply browned but not burned. Remove the bread from the pot and place on a cooling rack. Let cool completely before slicing.
- *feed your starter 8~12 hours before you plan to mix the dough and let it rest at room temperature. If your ambient temperature it on the warm side, keep it closer to 6~8 hours. You want to use it right at it's peak, right about when it hits double in volume from feeding. You can test it's readiness by dropping a spoonful in water. If it floats, it's ready. If it sinks, it needs some more time.
- **I like to use my enameled cast iron pot and my large Japanese clay pot. If you only have one option, keep one loaf in the fridge while you bake the first, and then repeat the baking process for the second one. I just bake both at the same time in each of my pots.


Be the first to comment.