Triple Berry Goat Cheese Tart (refined sugar free)
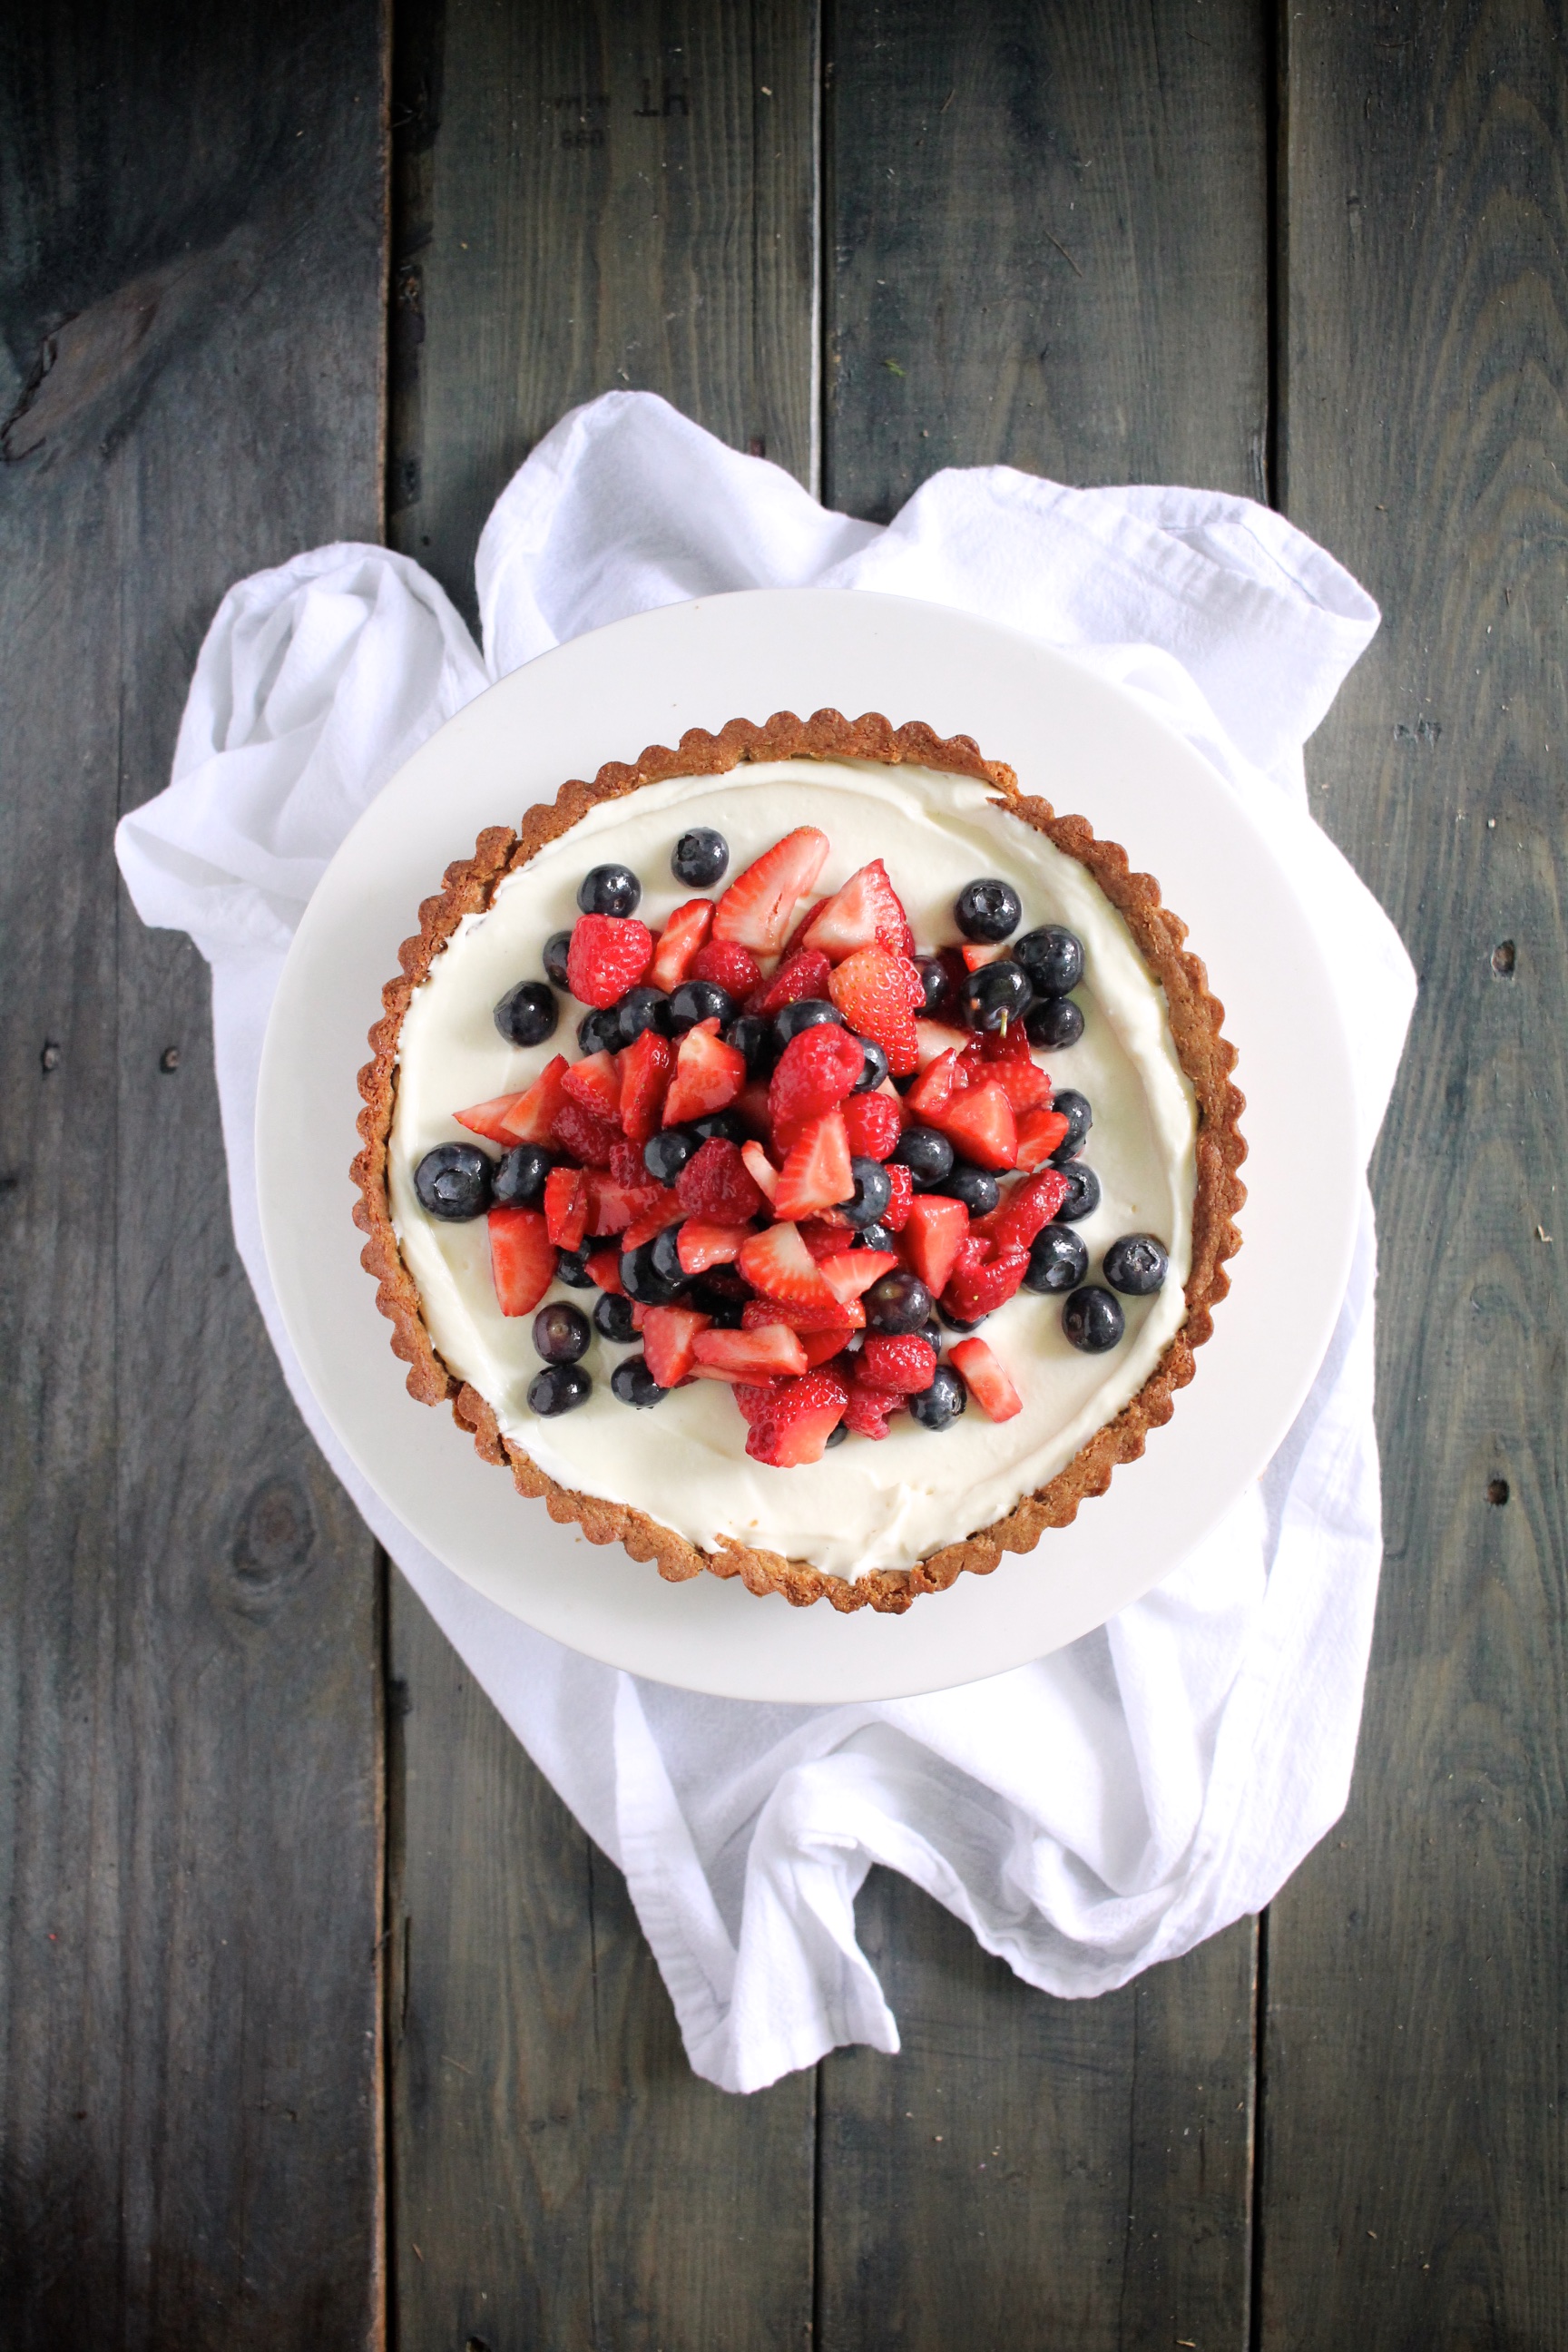
This creamy triple berry goat cheese tart, topped with colorful peak-of-season berries, is decadent but airy, and totally irresistible. The filling comes together in seconds, so it’s the perfect accompaniment to your Fourth of July festivities or a simple casual Summer evening.
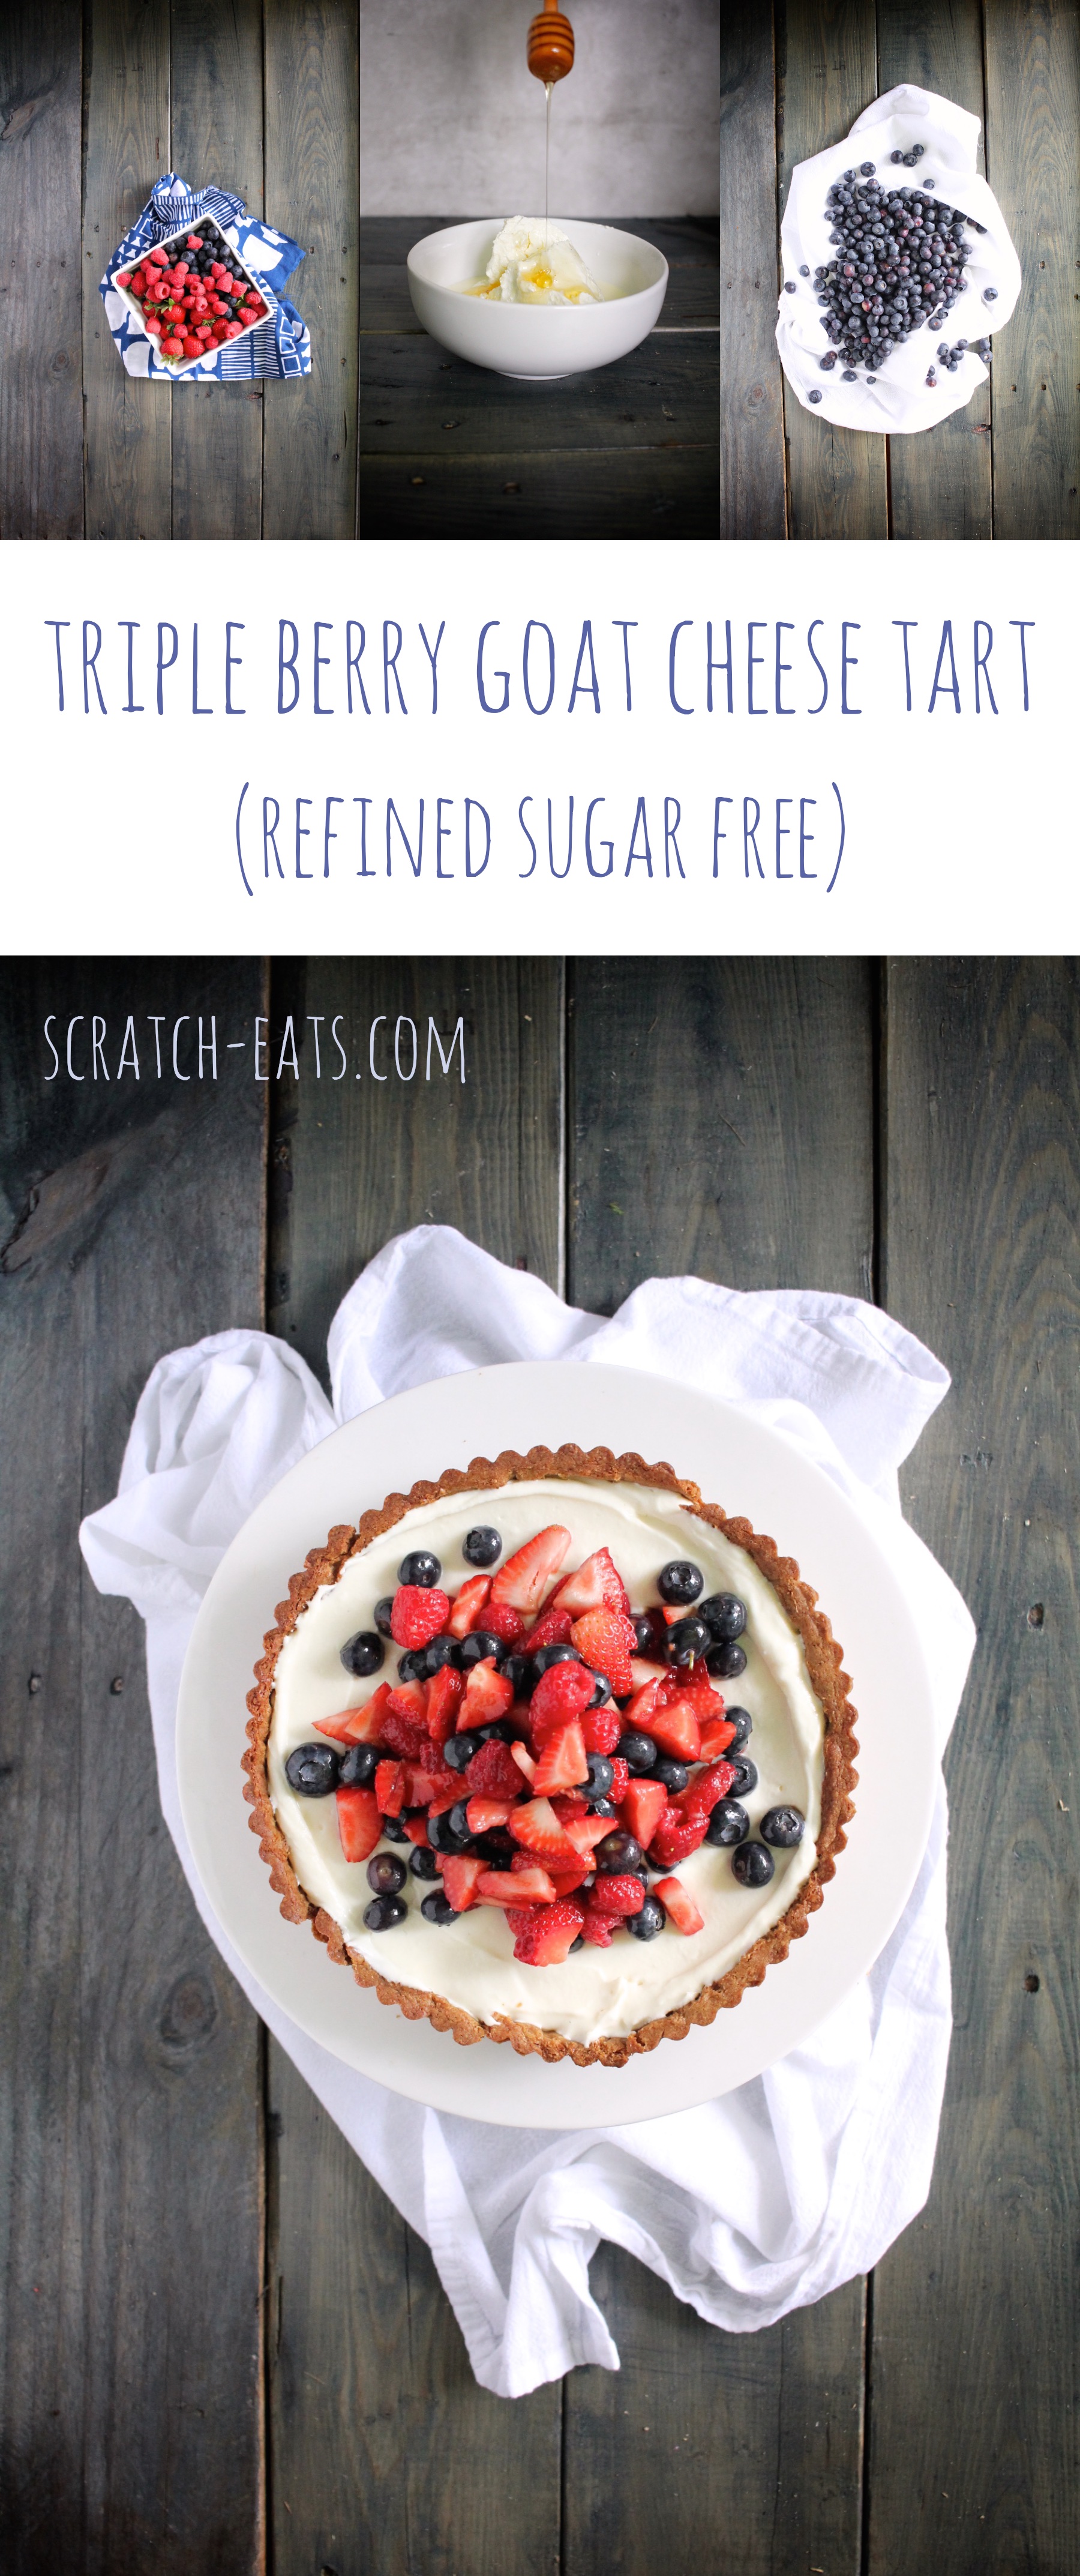
I look forward to Summer all year. Not just because of my birthday, sunshine, swimming pools, and blue skies, but because of berries. Oh man, just thinking about their juicy perfection makes me mouth water. I crave them all year and when they’re finally in season, I’m the first one in line at the Farmer’s Market buying them. They all peak at different times, but they all seem to overlap just in time for Fourth of July celebrations. And nothing could be more perfect because of the colors.
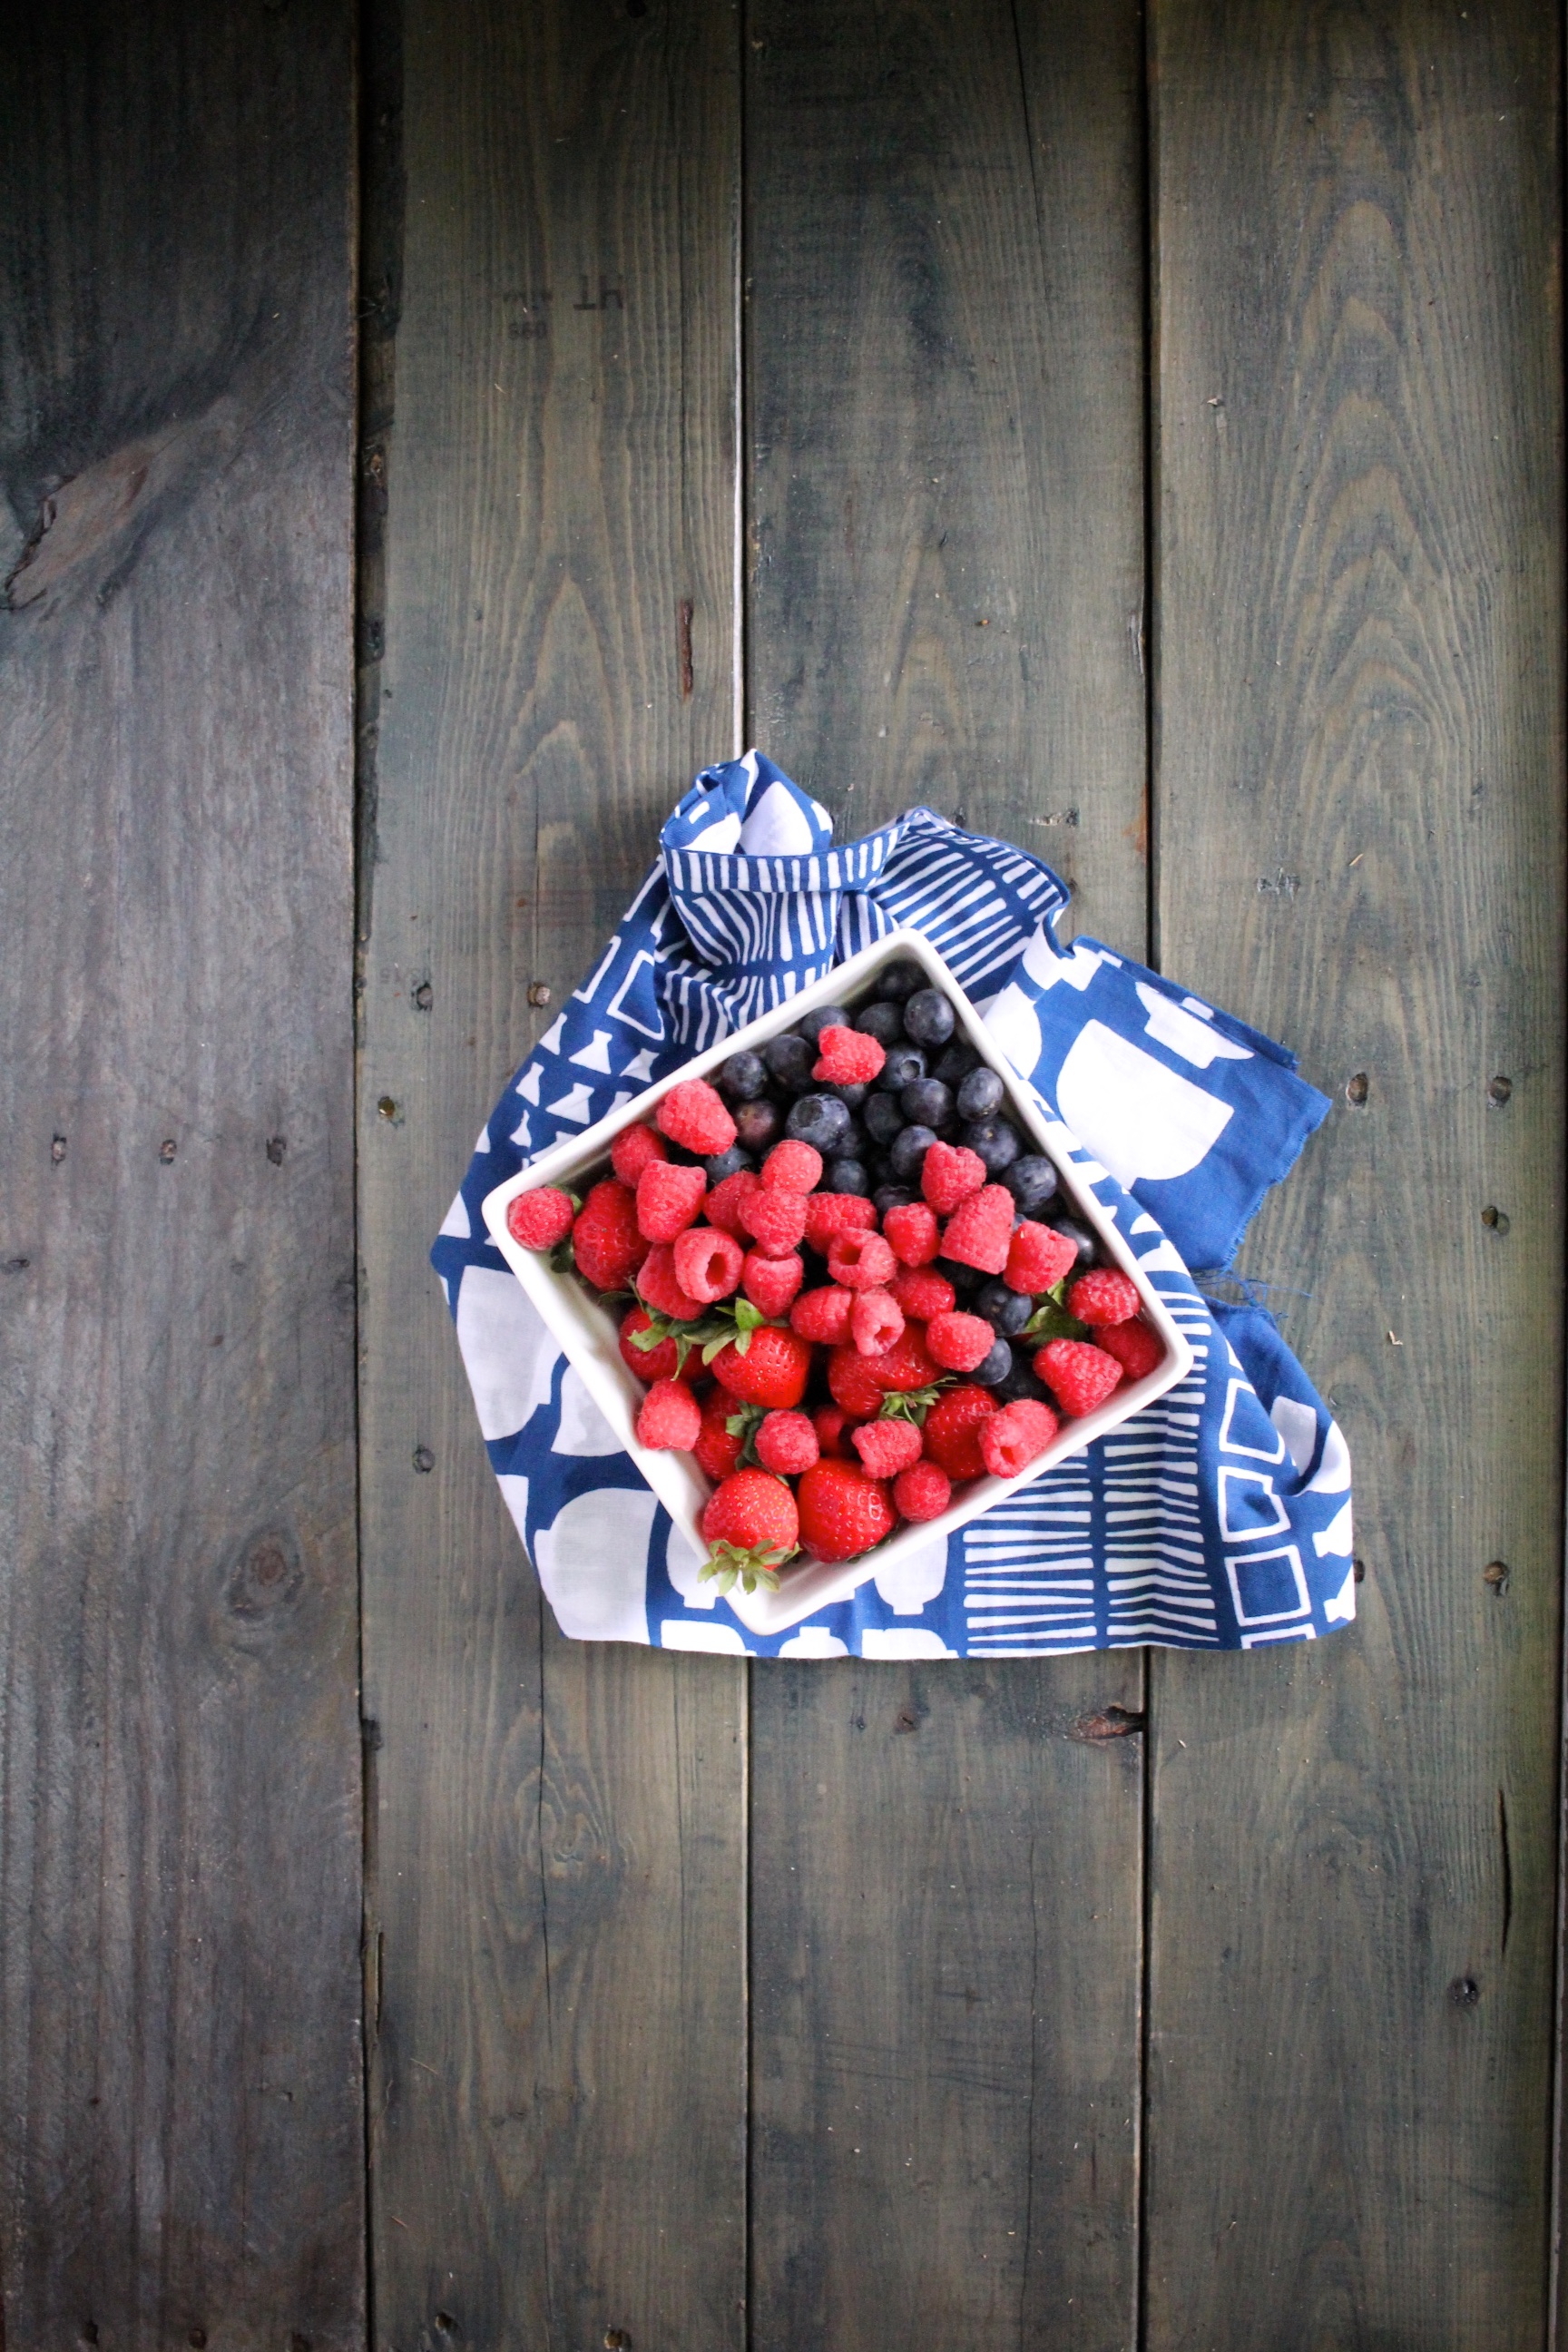
I know, you’ve all seen the cute American flag cakes decorated with blue and red berries, so it’s definitely not an original idea. But this isn’t a flag cake. First of all, it’s totally refined sugar free. (yay!) It’s still a decadent treat, and not refined flour free, so it’s by no means a health food. But more importantly, at least in my humble opinion, the goat cheesy-ness. There’s just enough goat cheese funk to make it interesting, but it’s also really well balanced by the kind of earthy, and for some reason I want to say “sunshiney” flavor of the the raw honey. I highly recommend using a good quality local, raw honey here. The honey is a big star of the this dessert, so the best quality you can find is key.
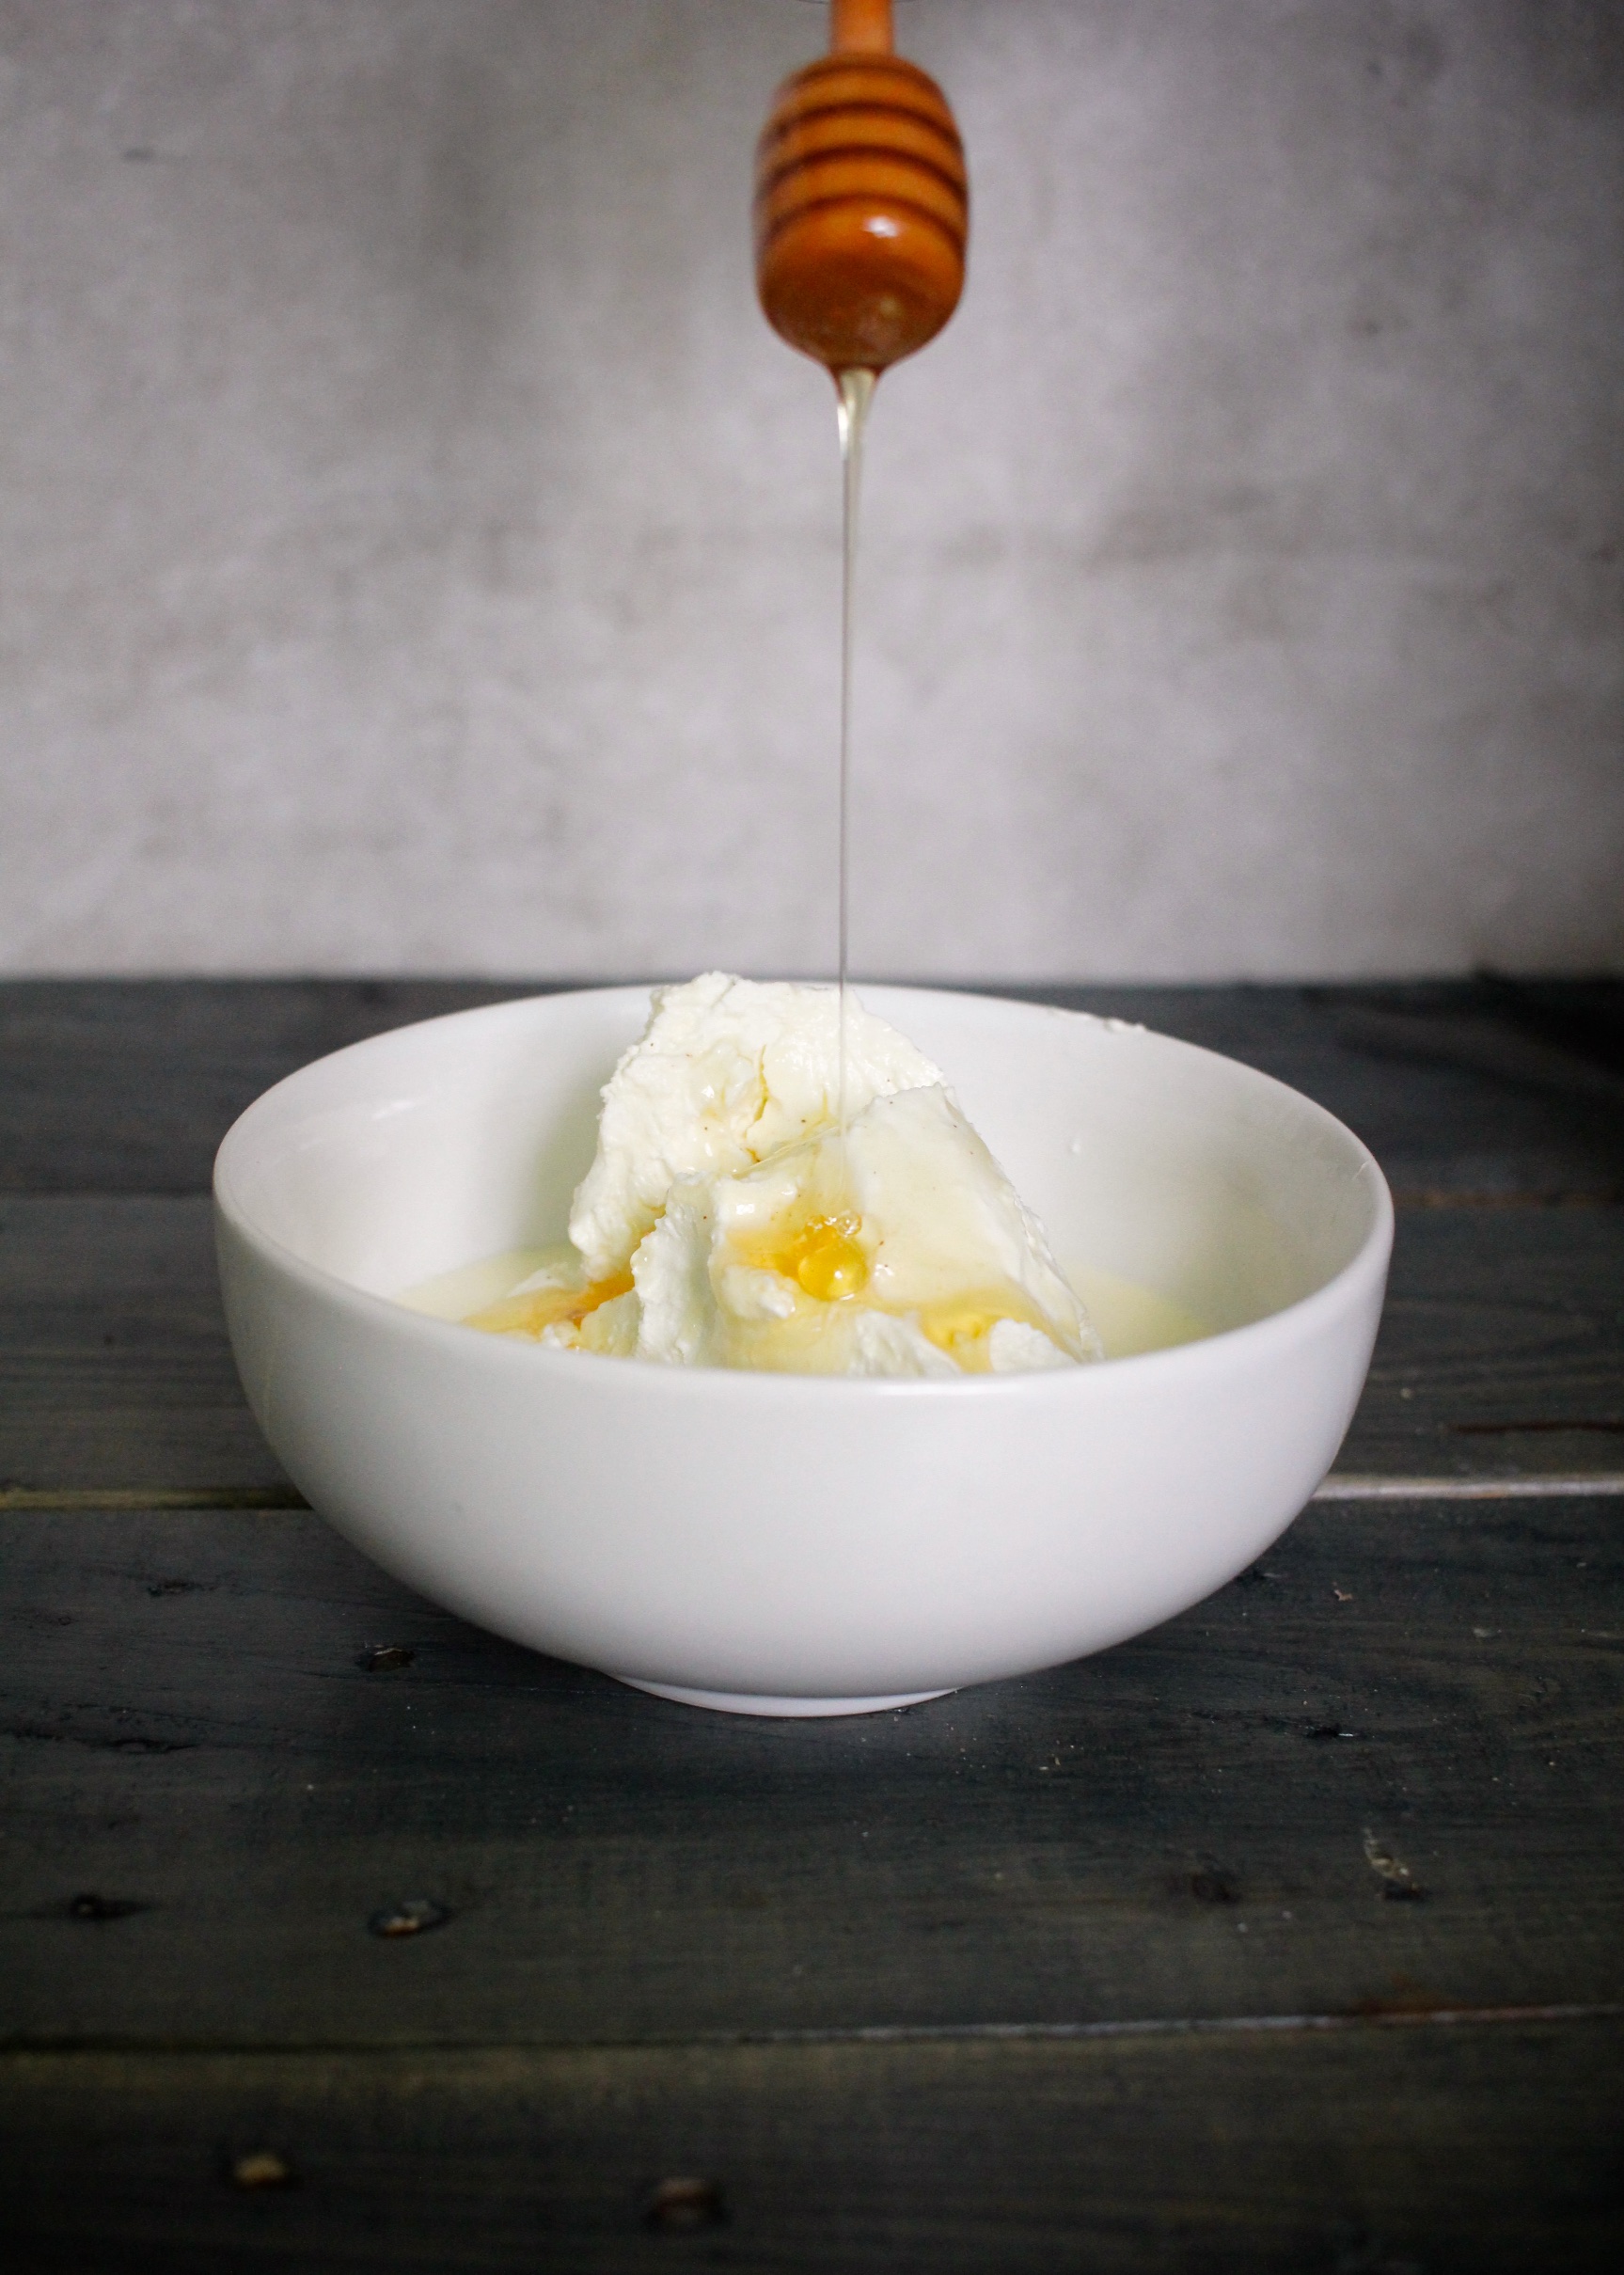
Actually, because the filling and topping are so simple, it goes for all of the ingredients.
The crust might take a little bit of patience. It comes together really easily, but like any roll-out crust, it requires a little bit of skill. But it’s very forgiving. If you feel like it’s getting a little wonky, you can just fold it back over on itself and start over. It’s different than a traditional American pie crust. Tart crust tends to be crisp rather than flaky, and this one is so good you’ll be eating the scraps after putting it in the pan. Seriously. My kids always stand around and wait for the scraps to fall and snatch them before I can. And it’s bakes up beautifully.
Remember to use a 9 inch tart pan, and definitely NOT one with a nonstick surface. Tart pans should never be nonstick. My favorite tart pan is this one. It’s sturdy, has a removable bottom, browns evenly, and doesn’t have a nonstick surface. And don’t worry, your crust will still come out of the pan like a champ. All of that delicious butter means there’s zero sticking. In fact, the nonstick coating prevents it’s from “gripping” to the pan while cooking, and it will just slide down the sides and you’ll never get that crisp fluted edge that is characteristic of tarts.
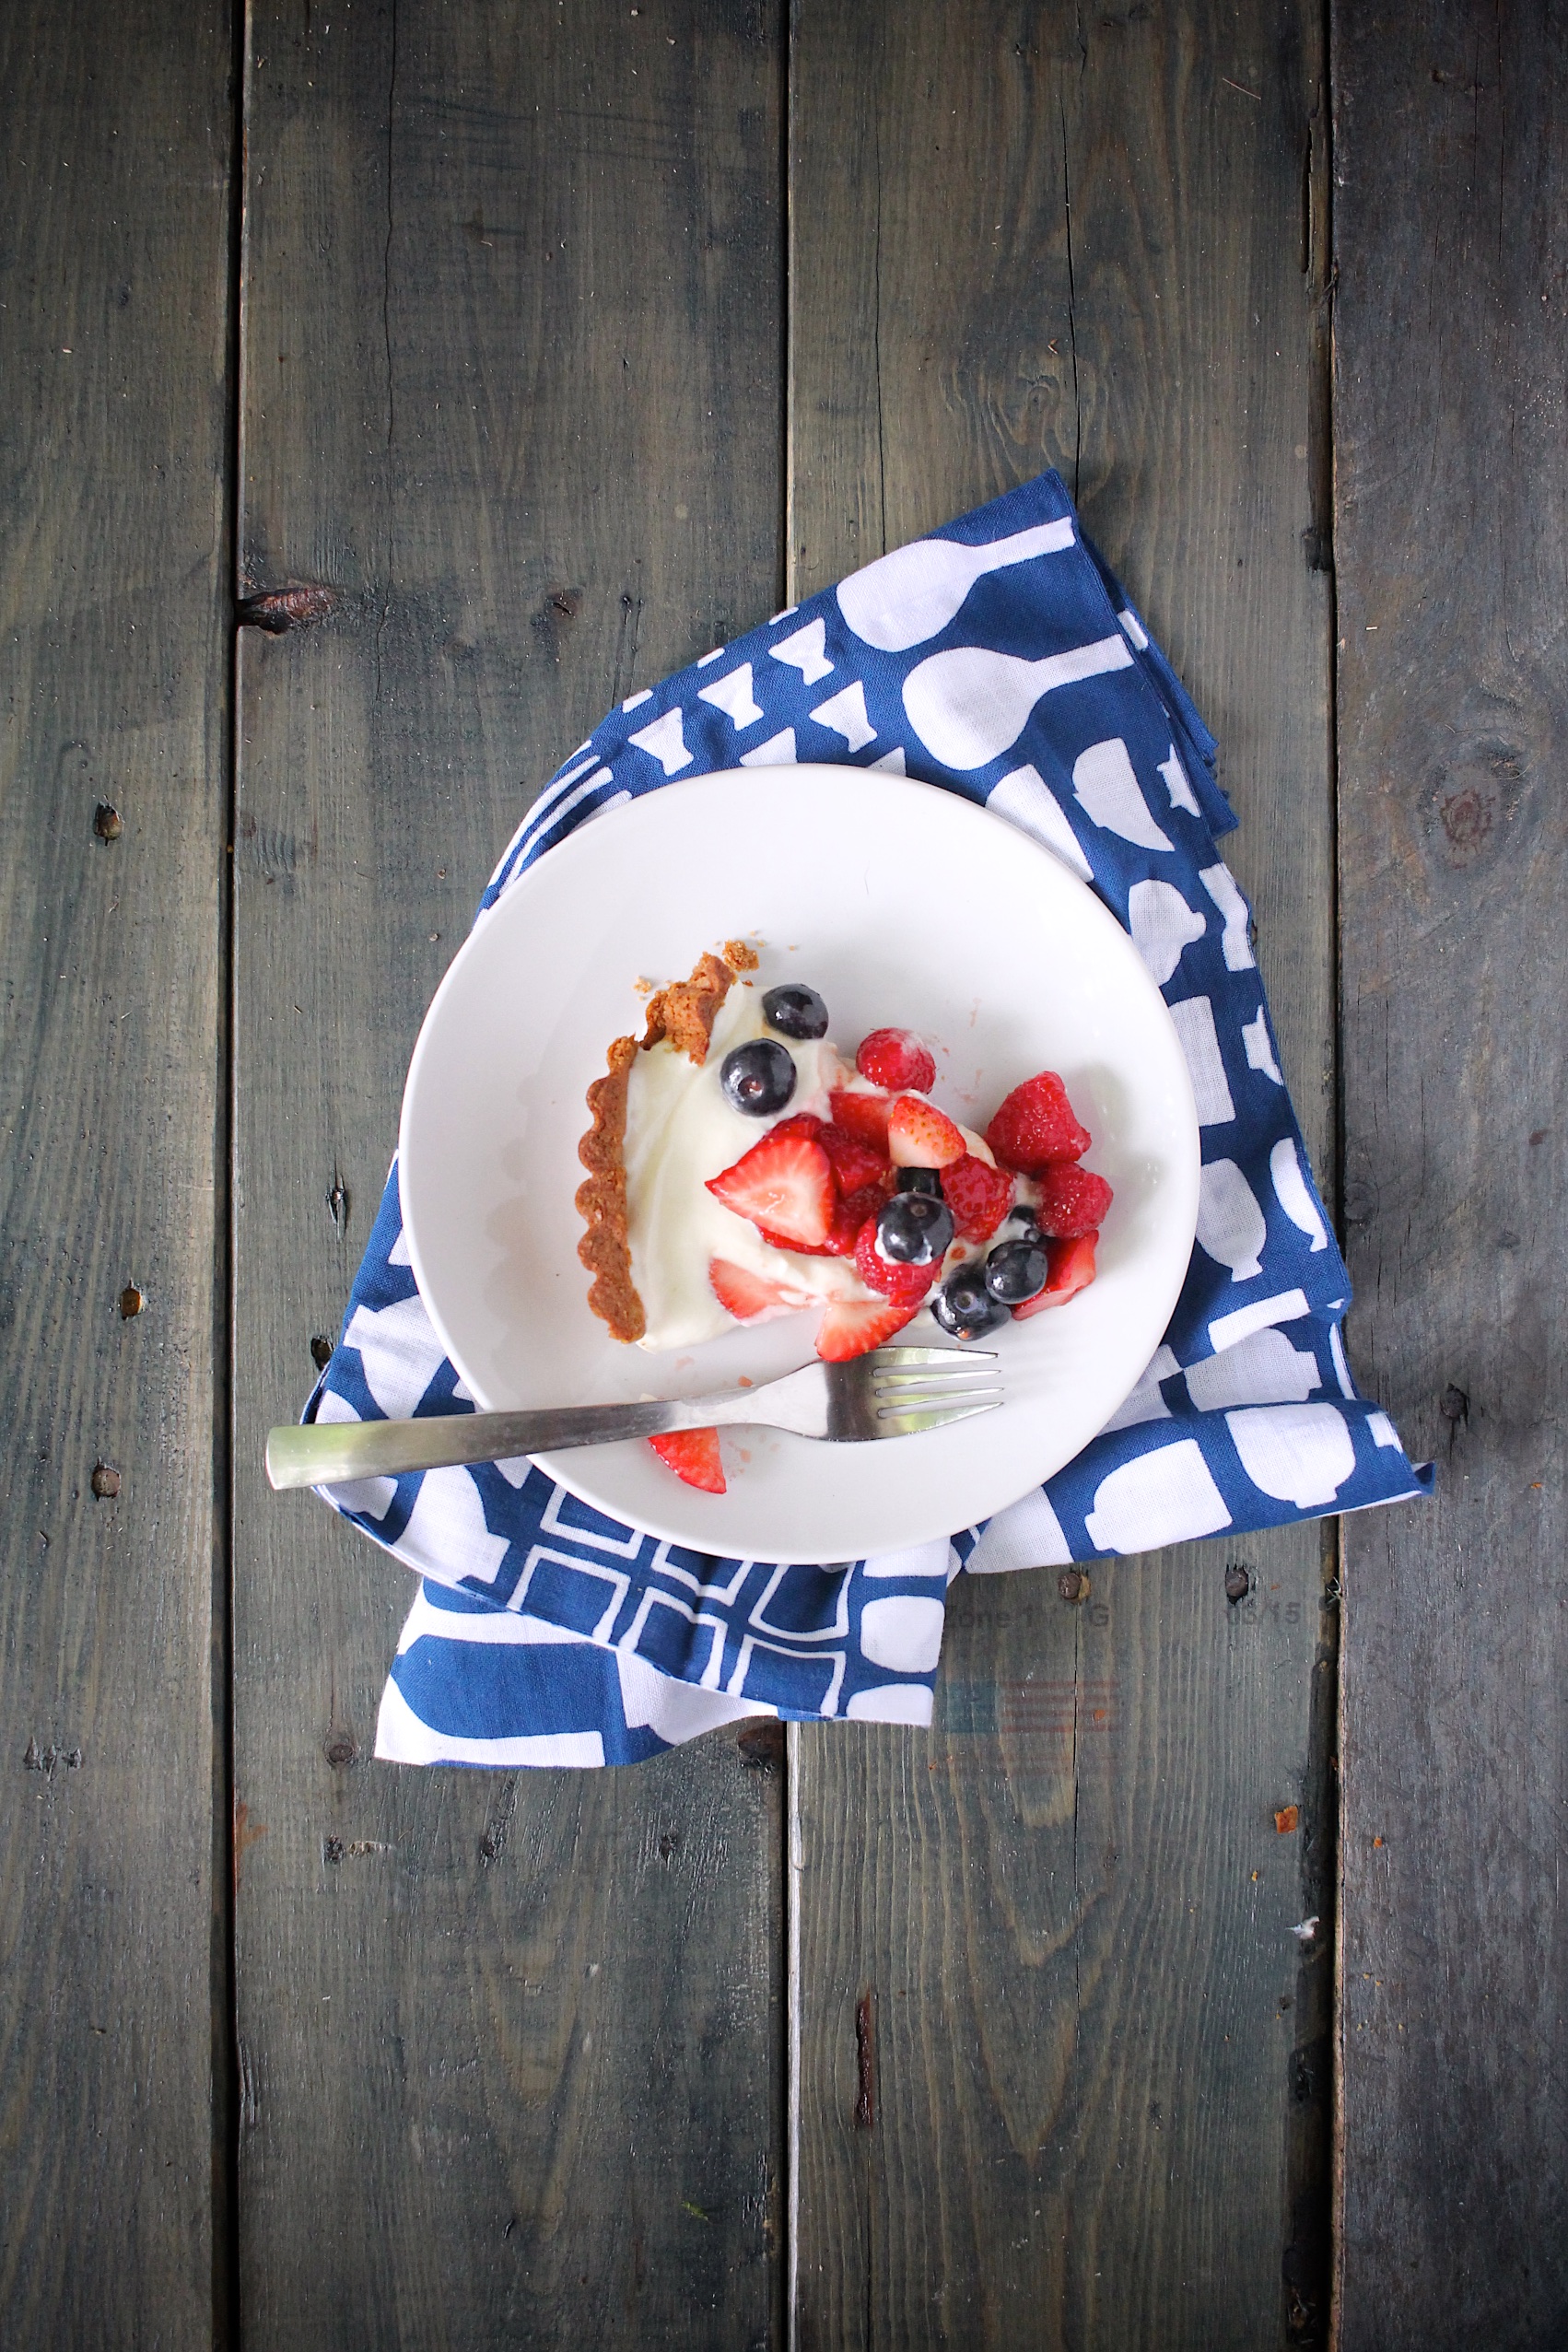
Anyway, look at that thing. You want this at your Summer feast. Enjoy!

- 3/4 cup coconut palm sugar
- 3/4 teaspoon cornstarch, preferably non-GMO and organic
- 1 large egg yolk
- 1 tablespoon heavy cream
- 1/2 teaspoon pure vanilla extract
- 1-1/4 cups all purpose flour
- 1/4 teaspoon fine sea salt
- 8 tablespoons unsalted butter, cut into 16 equal sized pieces, and chilled
- 1 10oz log of goat cheese
- 1/2 cup heavy cream
- 1/3 cup honey, to taste
- pinch of fine sea salt
- 1 lb strawberries, preferably organic, washed, hulled, and sliced
- 6 oz raspberries, preferably organic, washed
- 12 oz blueberries, preferably organic, washed
- Combine the coconut palm sugar and cornstarch together in the pitcher of a high speed blender or food processor. Blend on high speed until very fine, about 15~20 seconds in a high speed blender, longer in a food processor. Measure out 2/3 cup and reserve the rest for tossing the fruit.
- Whisk the egg yolk, cream, and vanilla together in a small bowl and set aside.
- In the bowl of a food processor, combine the flour, coconut palm sugar mixture that you made earlier, and salt. Pulse a few times to combine. Sprinkle the butter pieces over the top and pulse until the mixture resembles sand, about 15 pulses.
- With the machine running, add the egg mixture through the feed tube and continue to process until the dough starts to form a ball.
- Turn the dough out onto a large piece of plastic wrap and press into a 6 inch disc. Wrap tightly and refrigerate for 1 hour.
- After the 1 hour rest, pull the dough out of the refrigerator and let rest for 10 minutes. Roll out the dough on a lightly floured surface (make sure to lightly flour your rolling pin as well) into an 11 inch circle. Roll the dough around your rolling pin and unroll it over a 9 inch (not nonstick) tart pan. Gently lift the edges of the dough to shape them into the sides of pan, rather than trying to stretch it to fit. using either your knuckles or the side of a floured measuring cup, gently press the dough to create a crisp corner where the bottom and sides of the pan meet. Place in the freezer for 30 minutes. Meanwhile, preheat the oven to 375°F.
- Once the crust has chilled for 30 minutes, Place it on a rimmed baking sheet. Adjust the oven rack to the middle position. Crumple up a large sheet of parchment paper*, smooth it back out, and place it in the chilled tart shell. Fill the parchment lined crust with pie weights, dried beans, or pennies (my favorite). Bake in the oven for 25 minutes, rotating the pan halfway through baking.
- Pull off the parchment and allow the crust to bake for an additional 5~10 minutes until the bottom has browned slightly. Be careful not to burn. Pull out the crust and let cool completely in the baking sheet on a cooling rack before using, about 1 hour.
- Meanwhile, let the goat cheese soften by leaving it at room temperature for about 20~30 minutes. In a medium bowl and using a hand mixer, whisk together the goat cheese, heavy cream, honey, and salt until smooth. Spread evenly into the cooled tart shell. Refrigerate for 30 minutes to set the filling.
- When ready to serve, combine all of the fruit and 2~3 tablespoons of the leftover coconut palm confectioner's sugar that you made earlier in a medium bowl. Toss the fruit with the sugar until well coated and the fruit releases just enough juices to become glossy. Top the tart with a heap of the fruit in the center. Serve immediately.
- *Crumpling the parchment first makes it easier to manipulate and shape into the crevices of your tart.
- This tart lasts in the fridge for a couple of days, but the crust will soften and the fruit will release more juices. I recommend eating it the day of, though I doubt you'll have too much of a problem with that;)


Lynn | The Road to Honey
July 6, 2016
I’m with you Lillian. Berry season is the best and I can never get enough of all those juicy berries. And this sugar free tart. . .what a scrumptious way to showcase these jeweled beauties. The goat cheese filling sweetened with honey sounds divine ( my favorite goat cheese happens to be sweetened with honey).
Lillian
July 7, 2016
Lynn, I feel like you just get me. Goat cheese and honey are a match made in heaven, aren’t they? It just seemed right to put them together in dessert form. I hope you try it, and if you do, I’d love to hear how you like it. Wish we could enjoy it together! Thanks for visiting!
Walter Burhans
August 3, 2016
I ve been picking figs every day and eating them with goat cheese some 20+ yr balsamic vinegar drizzled on. I m ready to make these right now, thanks for posting the recipe.
Lillian
August 4, 2016
Wow, that sounds divine! Thanks for sharing!